
White polka dot nails have a way of looking dressed-up and playful at the same time, no matter what color sits underneath them.
It’s one of those nail art styles that’s actually doable at home with just a dotting tool or bobby pin, yet still reads as high-effort when it’s done right.
From soft nudes to bold black, the dot spacing and nail shape change the whole personality of the design.
Here are some takes on white polka dot nails, each one showing a different way to wear this classic pattern.
White Polka Dot Nails
Scattered Dots on Warm Nude
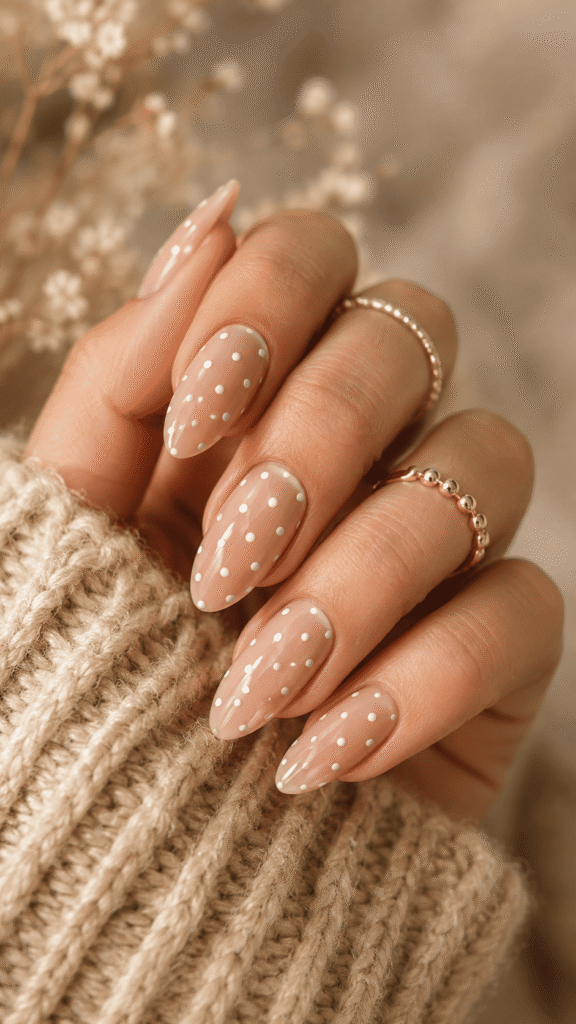
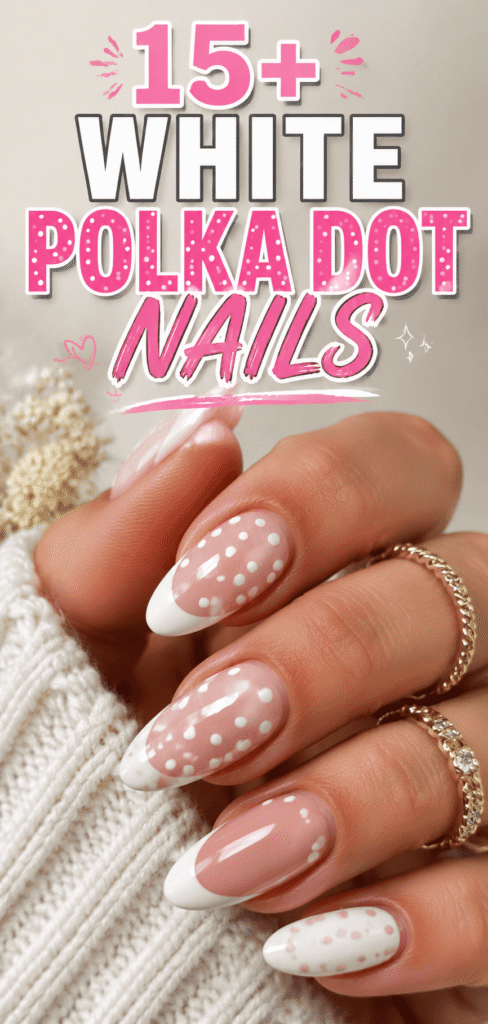
This almond-shaped set keeps things simple with a warm beige-nude base and dots scattered randomly across each nail rather than lined up in neat rows.
The randomness is what makes it feel relaxed instead of overly precise.
Paired with a chunky knit sweater and stacked gold rings, this is the kind of manicure that works for everyday wear when you want something with a bit more detail than a plain nude.
Blush Pink With Classic Rows
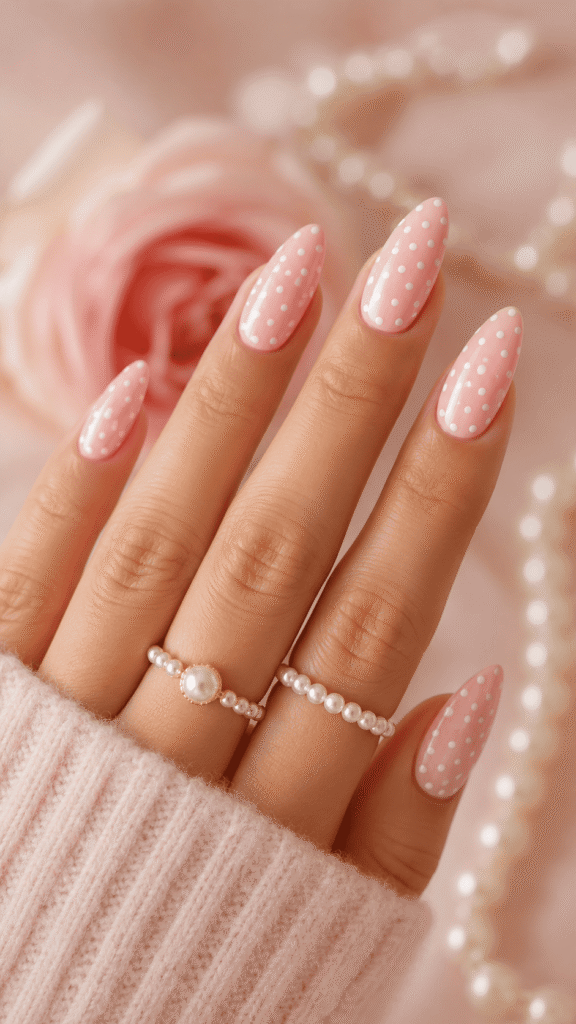
Here the dots are arranged in tidy horizontal lines across a soft pink base, giving it that traditional polka dot look you’d expect from vintage fabric.
The pale pink shade against a rose backdrop and pearl rings makes this set feel romantic and a little girly.
If you want white polka dot nails that lean sweet rather than edgy, lining your dots up in rows instead of scattering them is the way to go.
Bold Dots on Glossy Black
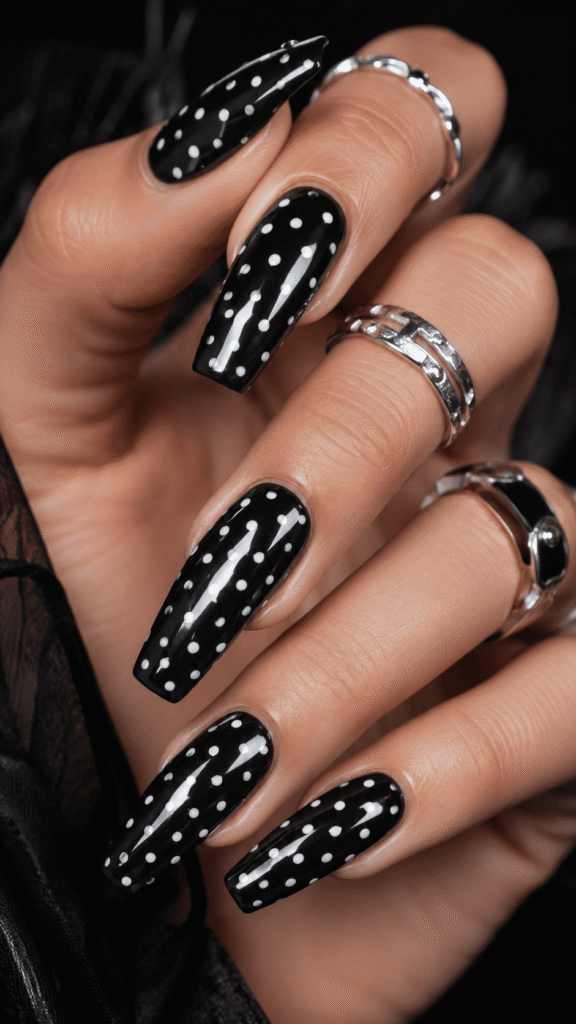
This is the boldest version on the list, long coffin nails in glossy black with oversized white dots spaced generously across each one.
The high-shine finish makes the contrast between the black and white pop even more.
Coffin and longer nail shapes give you more surface area to play with dot size, so if you want a graphic, statement-making look, going darker and longer like this is worth trying.
Iridescent Dots for Special Occasions
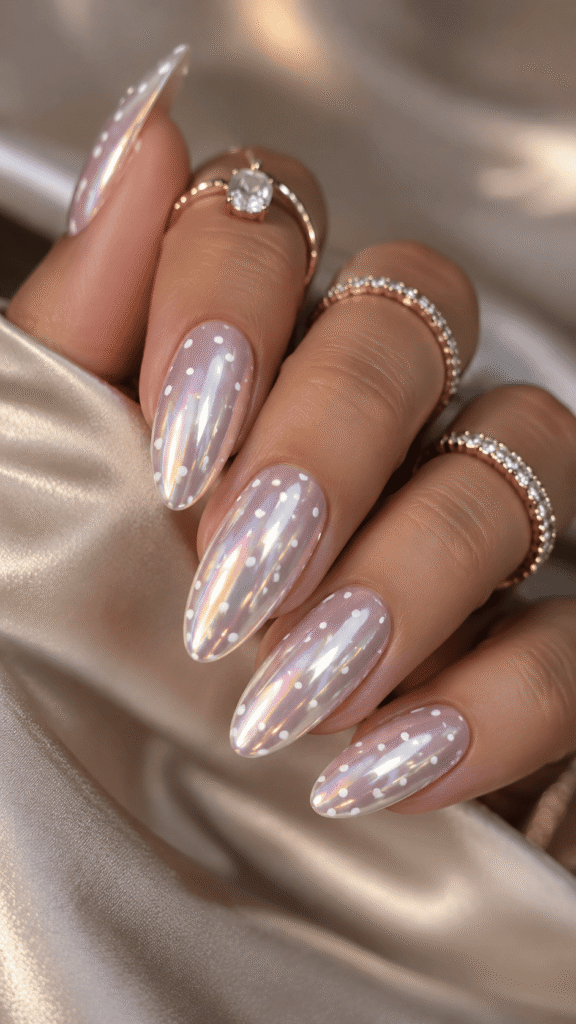
Instead of a flat white or nude base, this manicure uses a shimmery, holographic-looking polish underneath the dots, so the nail shifts color depending on the light.
The dots themselves stay simple and small, letting the shimmer do most of the work.
This is a good pick for a wedding, New Year’s Eve, or any event with good lighting where you want your hands to catch attention when you move them.
Matte Nude With Raised Dots
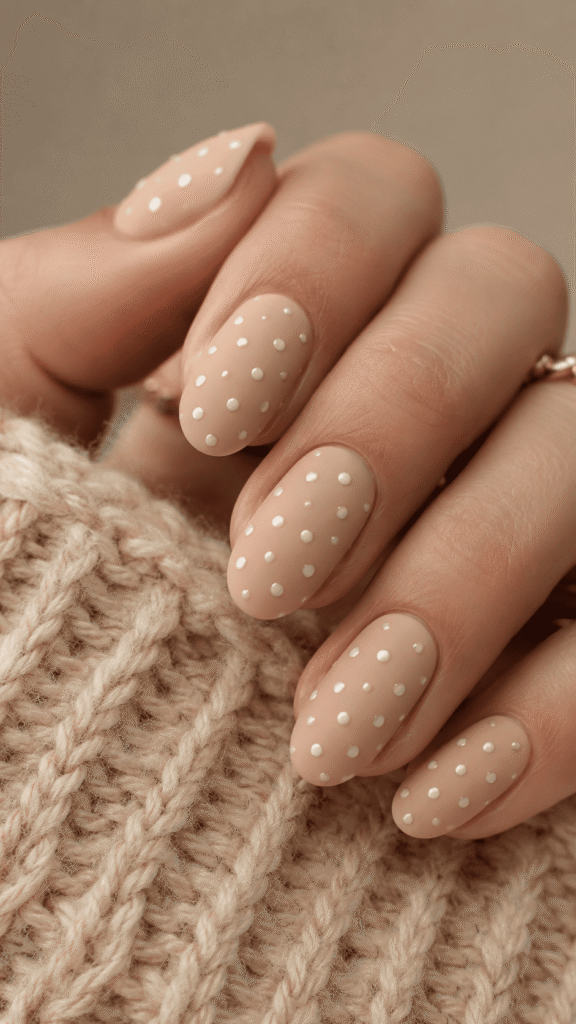
This set swaps the usual glossy top coat for a matte finish, and the dots themselves look slightly raised, almost like they’re sitting on top of the nail rather than painted flat.
Matte polka dot nails photograph differently than glossy ones, they read as more subtle and textured in person.
It’s a good option if you like the polka dot look but don’t want the shine that usually comes with it.
Daisies Mixed With Dots
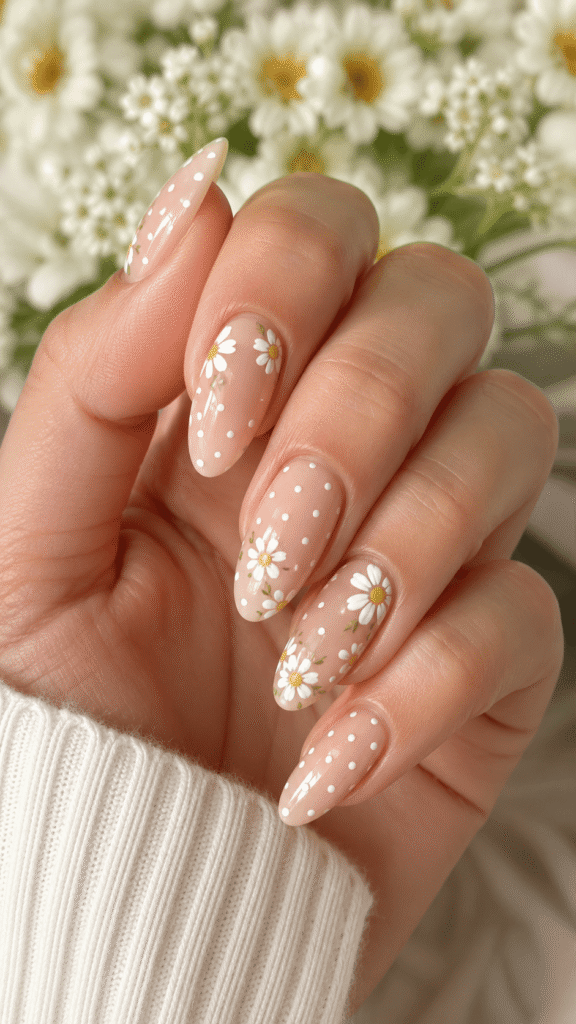
Rather than sticking to plain dots, this design mixes in small hand-painted daisies with yellow centers alongside the usual white polka dots on a sheer nude base.
It’s a nice example of how you don’t have to choose between florals and dots, combining them on alternating nails keeps the look from feeling too busy while still giving you two patterns.
This one suits spring and summer especially well.
Delicate Bows Paired With Dots
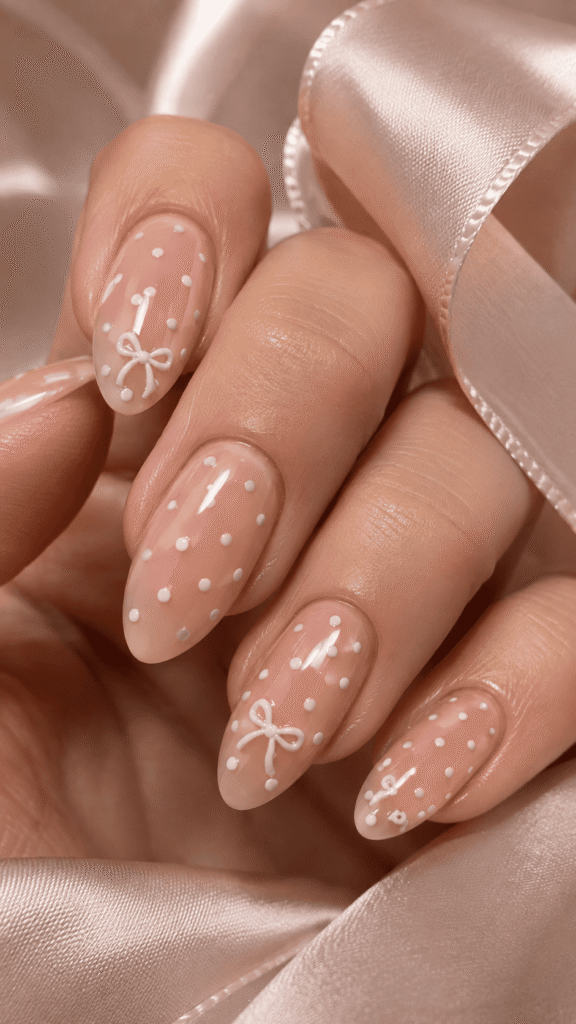
This manicure keeps most nails covered in small white dots but adds a tiny hand-drawn bow on select nails for extra detail.
The sheer, barely-there base lets the nail’s natural pink show through, which keeps the whole design feeling light.
Adding one small extra element like a bow to just one or two nails, rather than every nail, is a simple trick that makes a manicure feel more custom without much extra work.
White Dots on Deep Burgundy
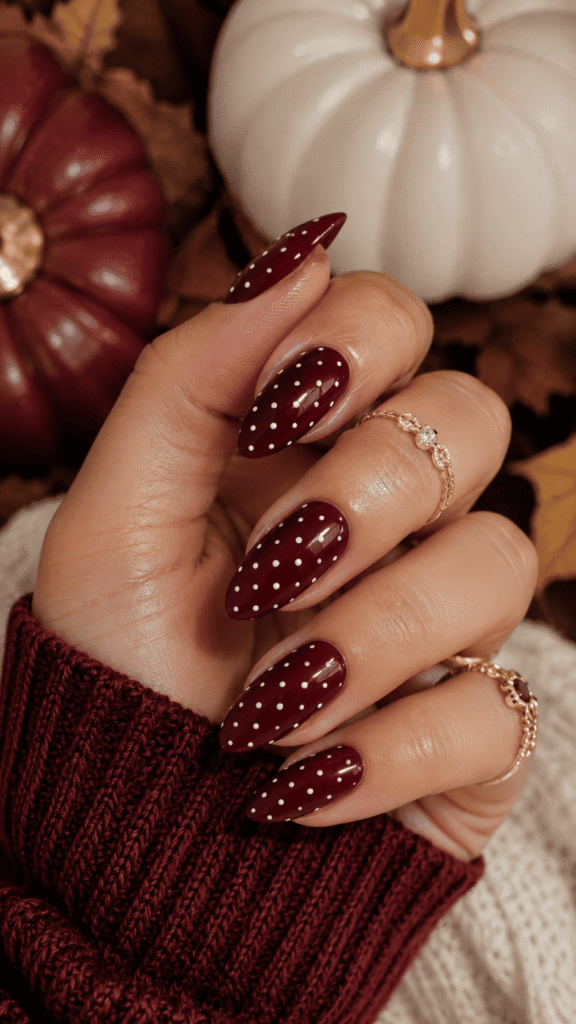
Swapping the usual pale base for a dark wine-red completely changes the mood of polka dot nails, making them feel more fitting for autumn and winter.
The dots here are kept small and evenly spaced, so they read as a subtle detail rather than the main event.
This color pairing works especially well against chunky sweaters and cooler weather styling.
Long Nails With Dense Dot Coverage
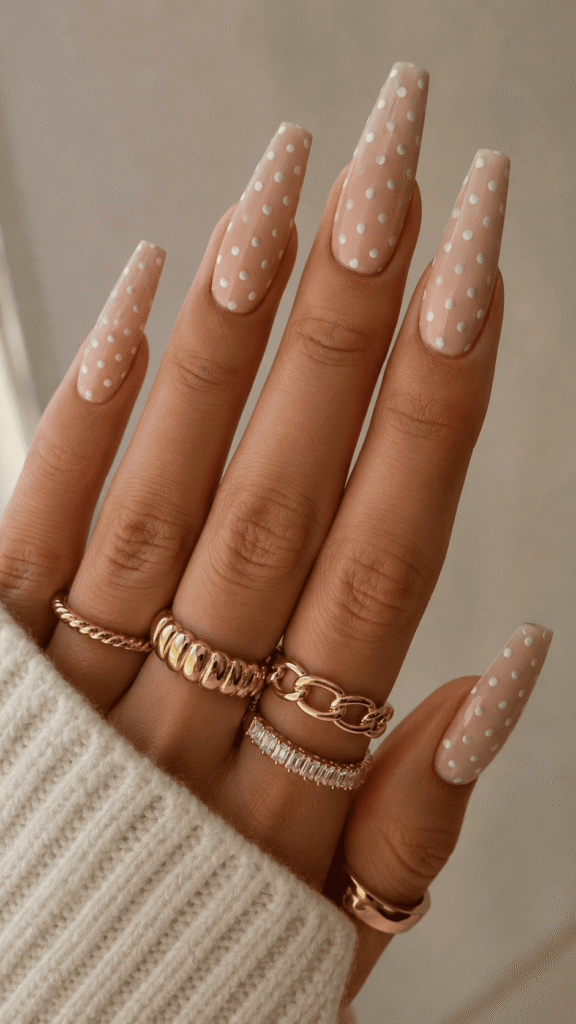
On longer square-coffin nails, this design packs the dots in more densely across a warm nude base, covering more of the nail’s surface than some of the sparser looks on this list.
The extra length gives the pattern room to feel fuller without looking overcrowded. If your nails are longer, don’t be afraid to add more dots than you think you need, the extra space can handle it.
Dots With a Touch of Glitter
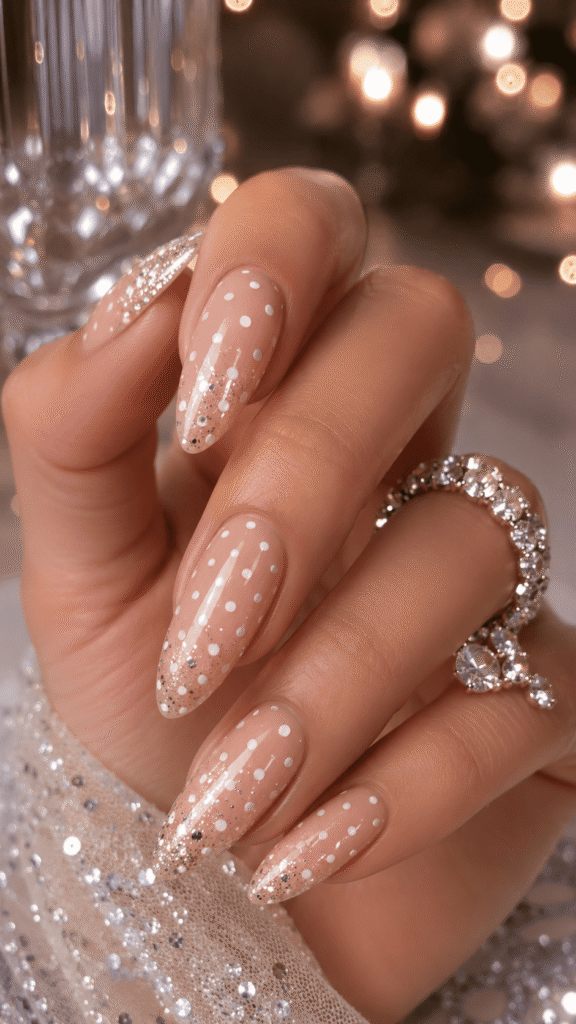
This set combines classic white dots with a dusting of fine glitter near the tips, so the nail transitions from dotted to sparkly as your eye moves down.
It’s a nice option if you want polka dots for a party but don’t want the whole nail to be glittery. Keeping the glitter contained to the tips is an easy way to add sparkle without it feeling like too much.
Tiny Hearts Instead of Dots
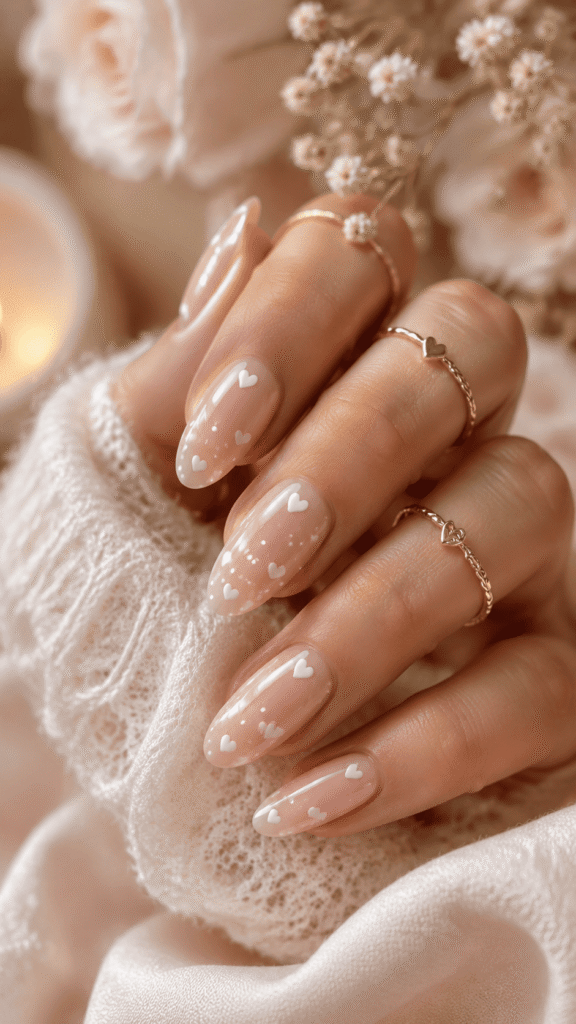
This one swaps circular dots for small white hearts scattered across a sheer, glossy base, plus a few actual dots mixed in for variety.
It’s proof that the polka dot concept works with other small shapes too, not just circles.
If you want something that still has that scattered, playful feel but want to personalize it a bit, switching the shape is an easy way to make the design your own.
Polka Dot French Tips
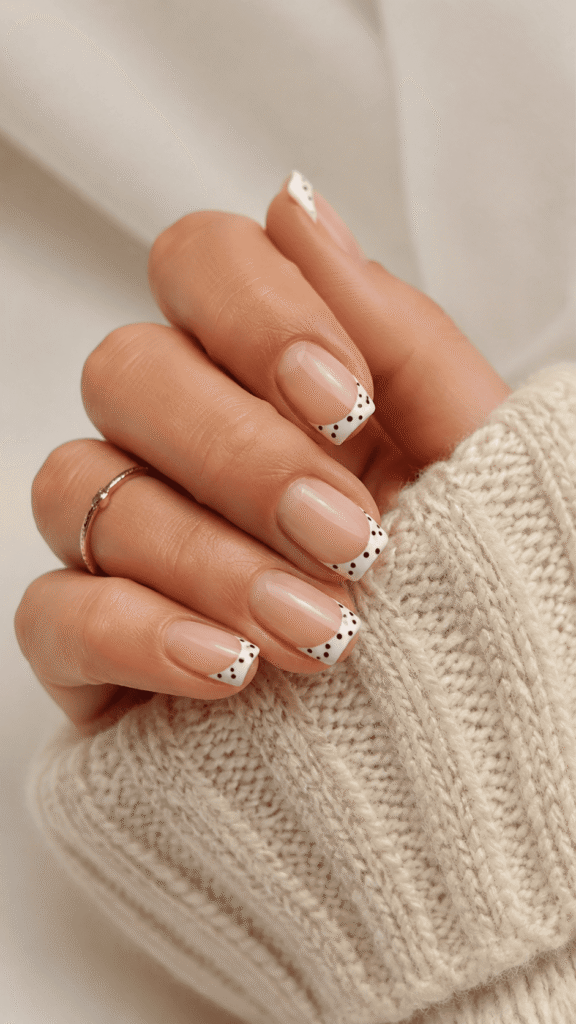
Instead of dots across the whole nail, this design keeps the dots confined to white French tips on a natural pink base, giving you a manicure that’s part French manicure, part polka dot.
It’s a great choice if you want the pattern without committing to it across the entire nail, the dots stay contained to a smaller, more manageable area.
Vintage Red and White Dots
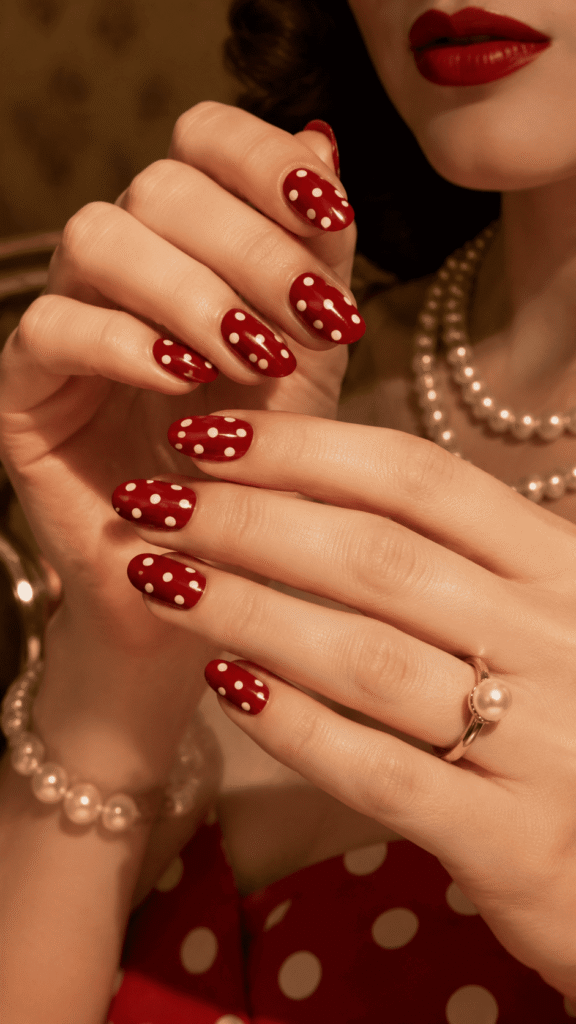
This one goes fully retro, with dense white dots covering short-to-medium red nails, styled alongside pearl jewelry and red lipstick for a pin-up inspired look.
The dot spacing here is tighter than most other designs on this list, giving it a more traditional polka dot fabric look rather than a scattered, modern one.
This is a fun option if you’re going for a themed look, like a retro-inspired photoshoot or party.
How to Get Even Dots at Home
You don’t need fancy tools to get clean polka dots, a few household items and a little patience go a long way.
- Use the right tool for your dot size. A bobby pin or toothpick gives you small, fine dots, while the rounded end of a dotting tool or even a pencil eraser works for bigger, bolder dots like the ones on the black coffin nails above.
- Let your base coat dry completely first. Adding dots to wet polish makes them smear or sink in unevenly. Give your base color at least 10-15 minutes before starting.
- Dip, don’t drag. Load your tool with polish and press straight down onto the nail rather than dragging it across — dragging is what causes uneven, tadpole-shaped dots instead of clean circles.
- Wipe your tool between dots. Polish builds up on the tip after two or three dots, which makes each one bigger than the last. A quick wipe on a paper towel keeps your sizing consistent.
- Practice spacing on paper first. If you want evenly spaced rows like the pink or red designs above, sketch out your spacing on a scrap of paper before touching your actual nails.
- Seal with a glossy top coat. Raised dots can catch and chip if left unsealed, so always finish with a top coat once your dots are fully dry.
Final Thoughts
White polka dot nails work in almost any color combination, which is exactly why the style never really goes out of style.
Whether you like them scattered and casual, lined up and vintage-inspired, or mixed with hearts and bows, there’s a version here worth showing your nail tech or trying yourself with a bobby pin and a steady hand.