
If you’re just starting to do your own nails, the last thing you need is a design that requires steady hands and years of practice.
Nail ideas for beginners should be simple enough to finish in one sitting without ruining your polish halfway through.
I went through a set of manicures that range from a single solid color to small dot and line details, so you can see exactly which ones are realistic to try at home first, and which ones to save for once you’ve got more practice under your belt.
Easy Nail Ideas For Beginners
Black Ombre Fade
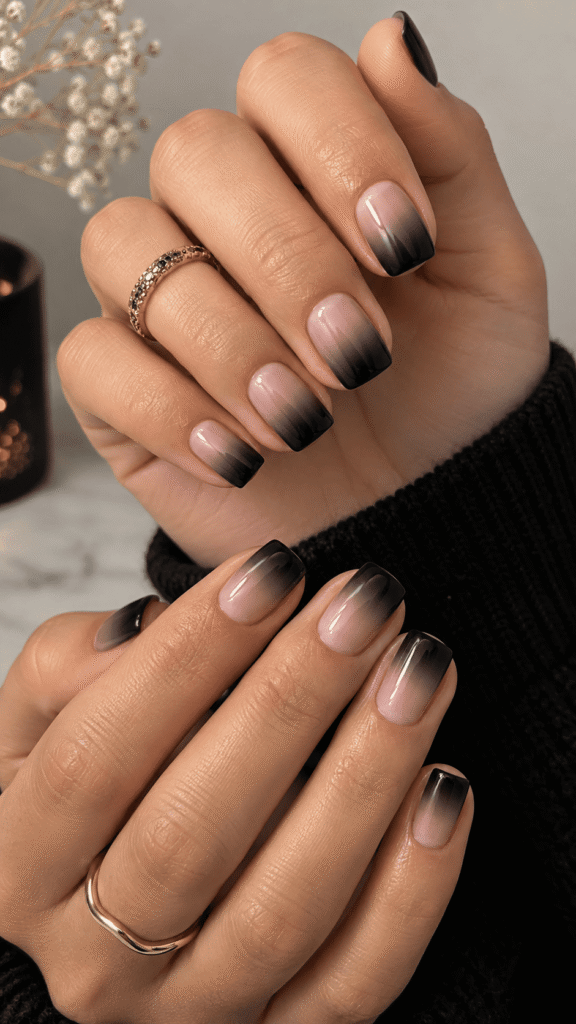
Short square nails start pink at the base and fade into black near the tips, using a sponge-blended technique.
This one looks more advanced than it is, you’re not painting a precise design, just blending two colors together with a makeup sponge, which is actually more forgiving than trying to draw a straight line.
Solid Nude
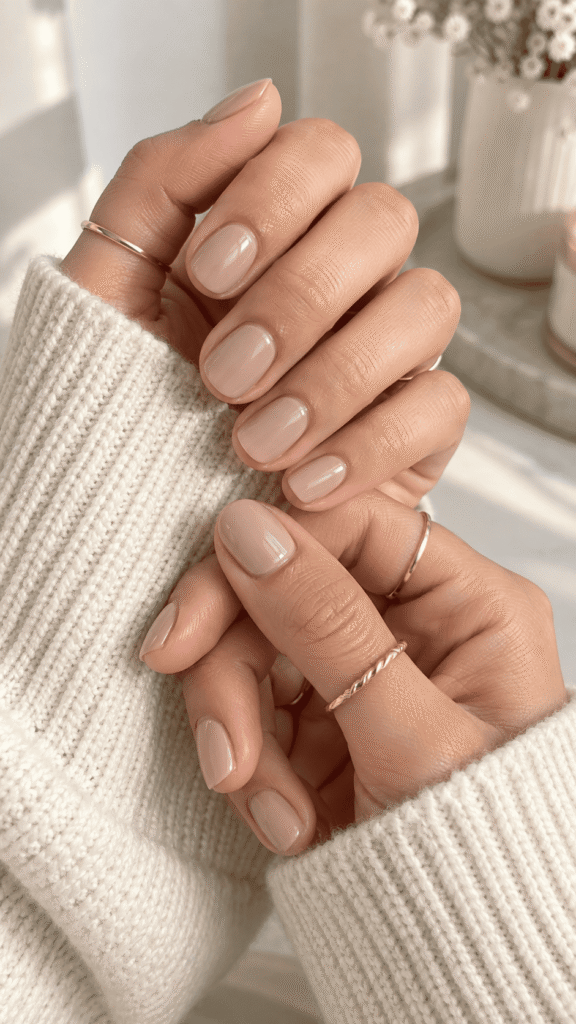
A warm, medium beige polish on short round nails, worn with a cozy sweater. This is genuinely the best starting point for anyone new to painting their own nails, one color, no lines to keep straight, and it still looks polished the second it’s dry.
Soft Pink
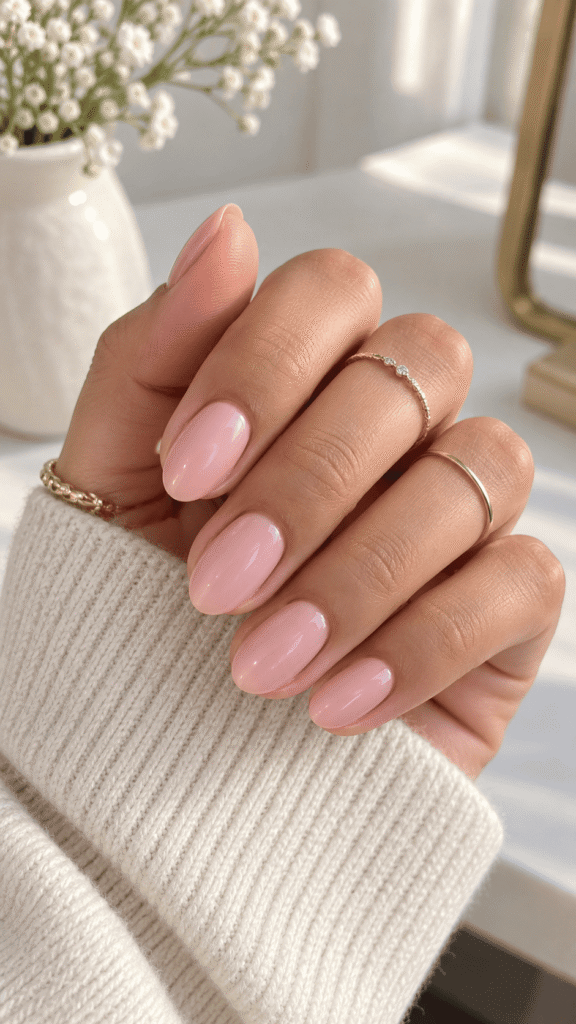
A classic light pink on oval nails with a glassy, glossy finish. Like the nude, this is a one-color manicure, but pink tends to be more forgiving of small mistakes near the cuticle since it blends into your skin tone more than darker shades would.
Classic French Tip
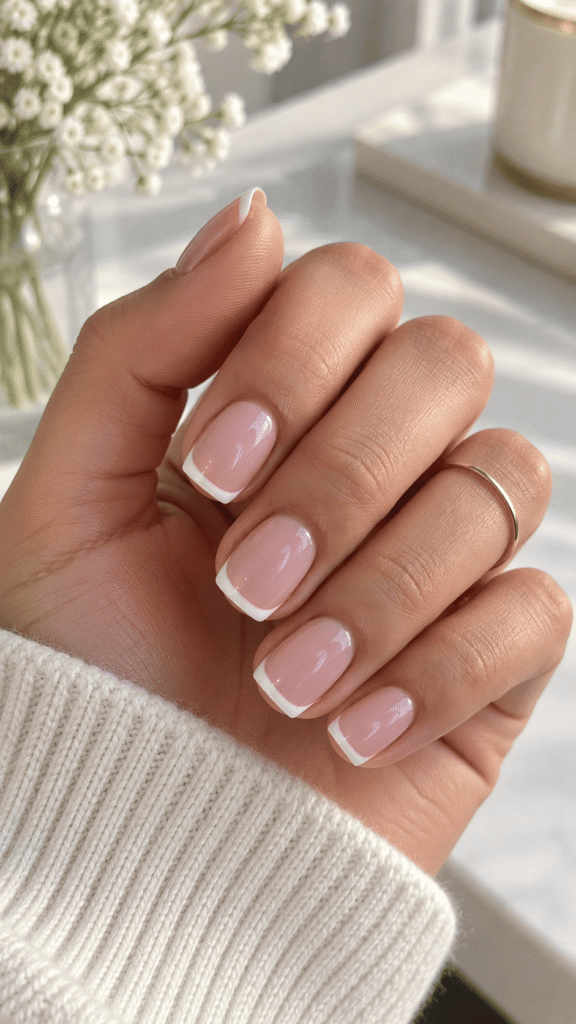
Short square nails with a clean white tip over a sheer pink base. French tips have a reputation for being hard, but doing them with a thin nail art brush (instead of trying to freehand a big swipe) makes this much more beginner-friendly than people expect.
Milk and Cookie Swirl
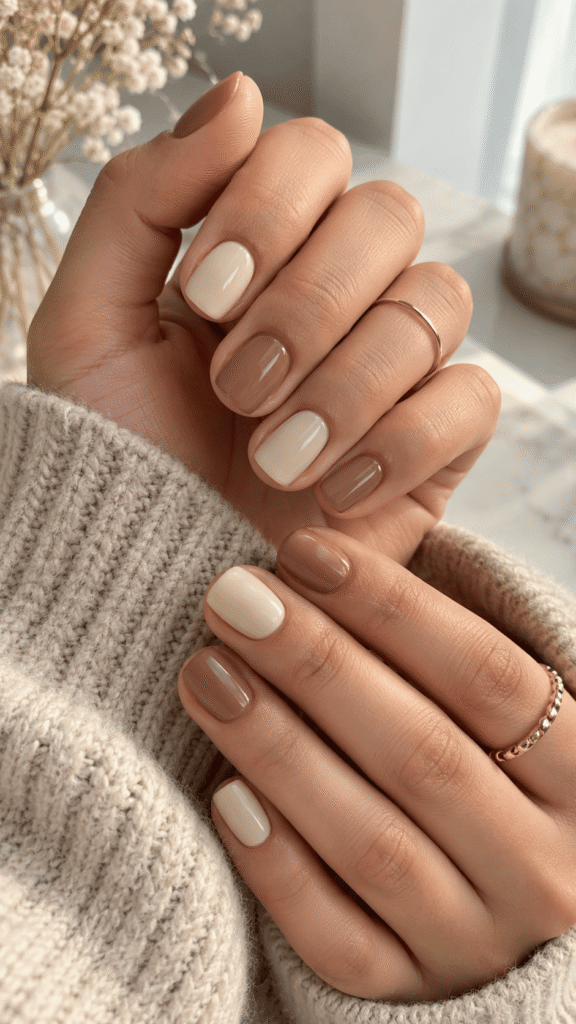
A rotation of solid cream and solid taupe/brown nails, alternating one color per nail rather than mixing them on a single nail. This is a great way to practice painting evenly without needing to blend or layer anything, you’re just switching bottles.
Tiny Polka Dots
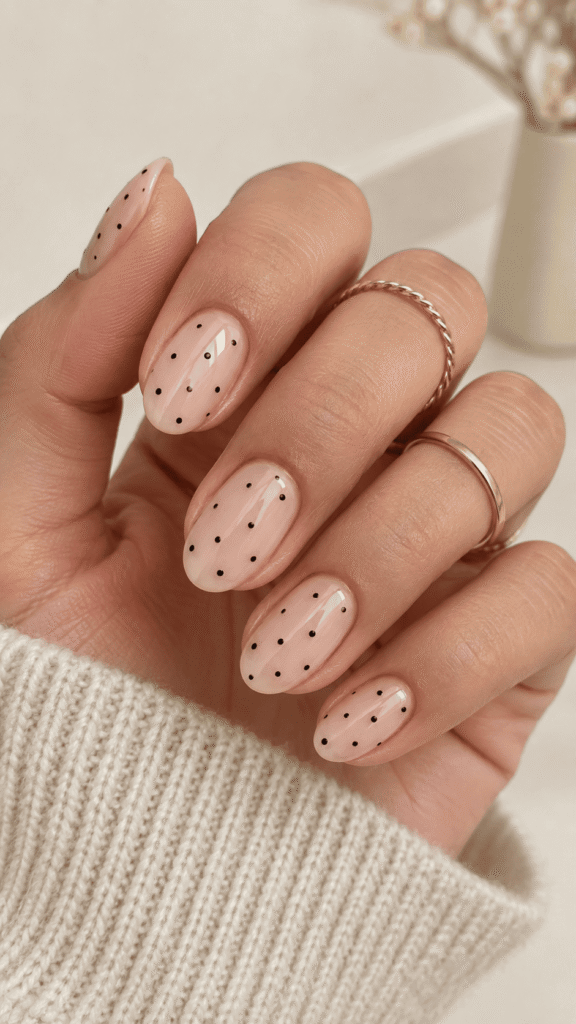
A sheer nude base with small black dots scattered randomly across each nail. All you need here is a dotting tool (or even the round end of a bobby pin dipped in polish), no brush control required, just dab and repeat.
Deep Red
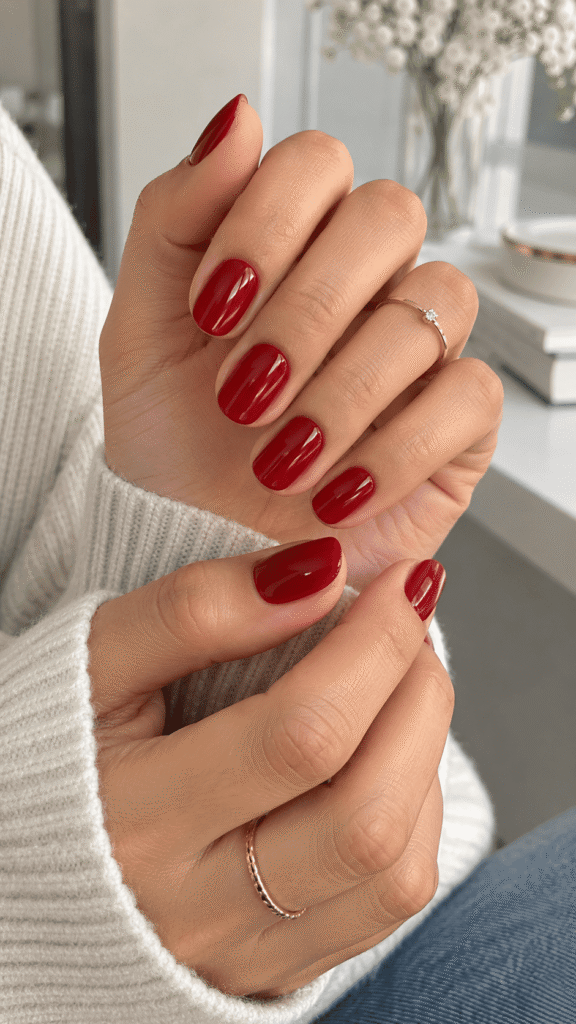
A rich, glossy red on short round nails. Red shows every flaw more than lighter shades do, so this is a good “level two” pick once you’ve gotten comfortable painting a single clean coat without leaving streaks.
Half-Moon French
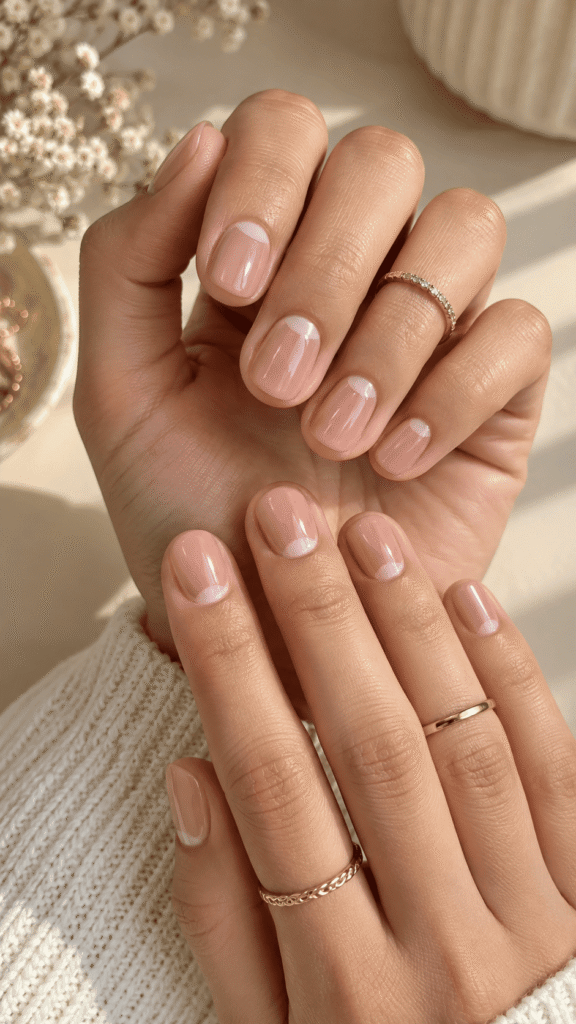
Instead of a tip at the top, this design leaves a bare crescent near the cuticle and covers the rest of the nail in a warm nude. It’s a fun twist on a French manicure and is actually easier than a regular tip, since the moon shape follows your natural cuticle line.
Fine Diagonal Line
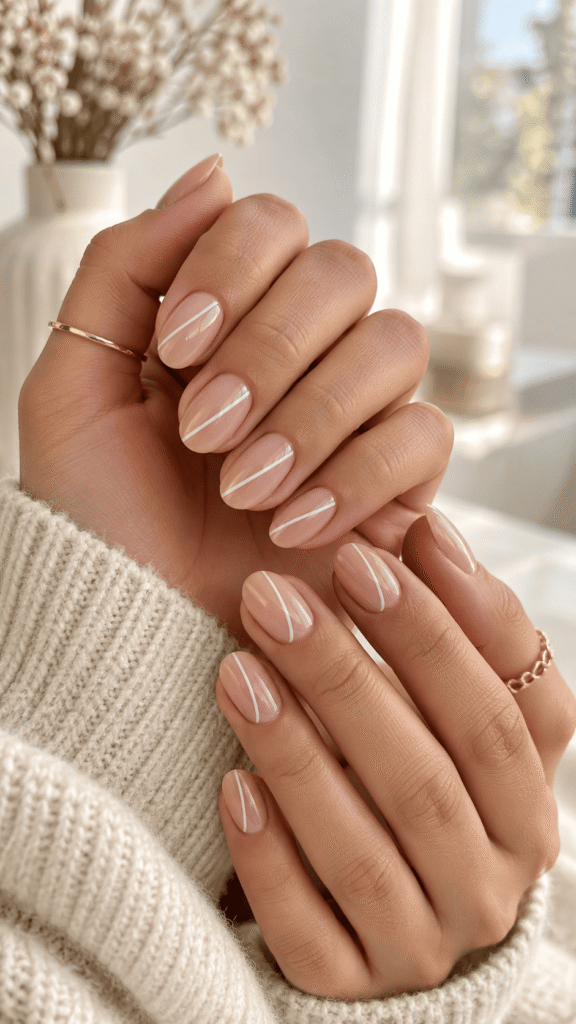
A soft nude base with a single thin white line running diagonally across each nail. This is a good design to practice brush control on, since it’s just one confident stroke per nail rather than a full pattern, if it smudges, you can wipe it off and try again.
Pastel Rainbow
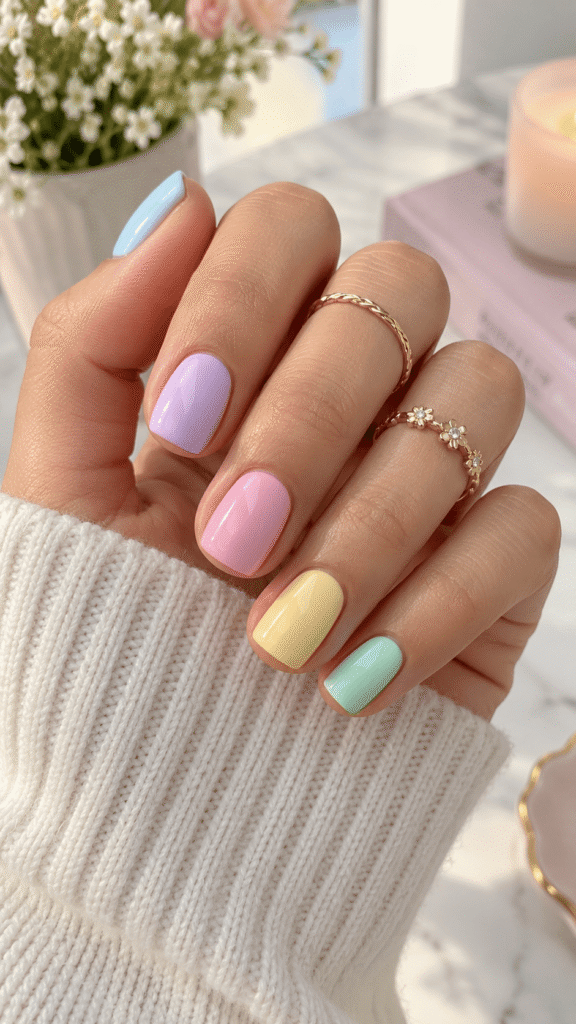
Each nail is painted a different pastel shade, baby blue, lilac, pink, yellow, and mint. This one skips technique altogether and is really about picking colors, which makes it a fun, low-pressure option if you’re more nervous about brush control than color choice.
Barely-There French
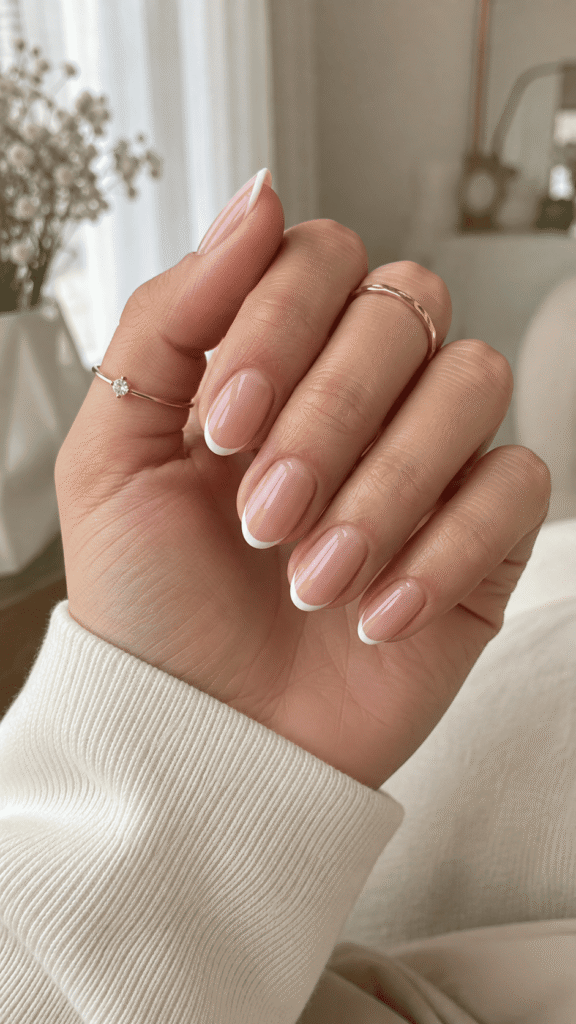
An extra-thin white line traces the tip of each oval nail, even more delicate than a classic French manicure. Once you’ve practiced the bolder French tip, this thinner version is a nice next step, since a thin brush actually gives you more control than a thick one.
White Daisy Accents
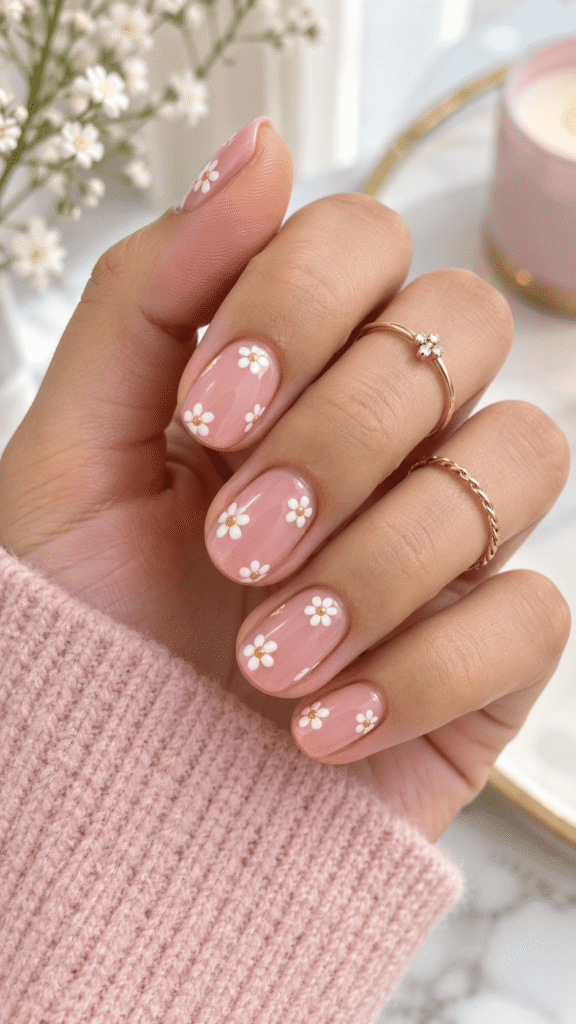
A dusty pink base with small white daisies (yellow centers) painted on each nail. This looks the most “advanced” on the list, but daisies are actually one of the easiest nail art shapes to learn, since it’s just five small dots arranged in a circle.
Glitter Accent Nail
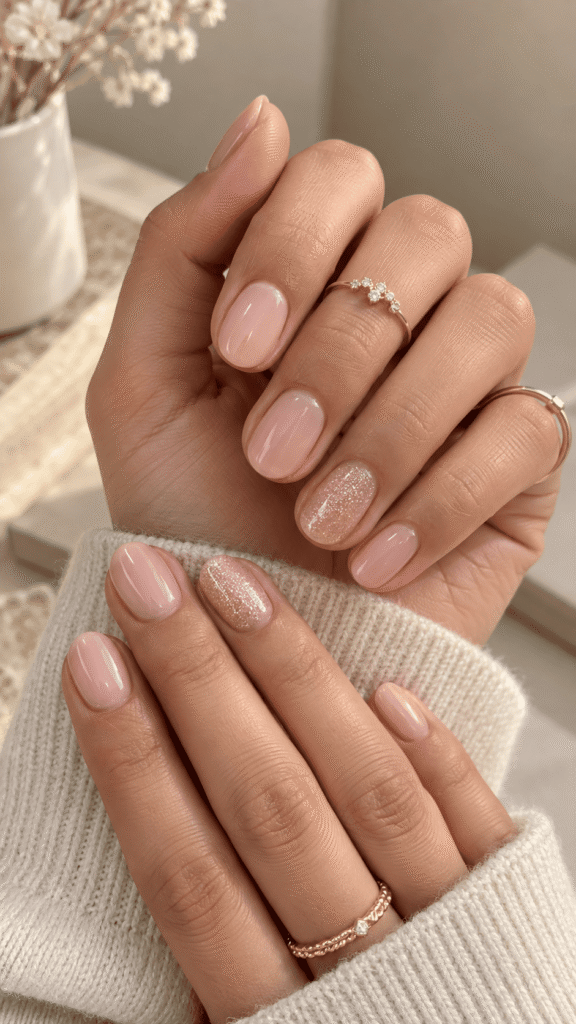
A soft pink manicure where most nails are solid, but one nail on each hand gets a sweep of fine silver glitter polish instead. This is an easy way to add a little sparkle without attempting nail art at all, just one extra coat of glitter polish on a single nail.
Nail Art Tools That Actually Help When You’re Starting Out
You don’t need a full kit to get good results, but a few basic tools make a real difference. A dotting tool (or even a bobby pin) is the easiest way to get clean dots without a wobbly brush stroke.
A thin nail art brush, separate from your regular polish brush, gives you way more control for lines, tips, and small shapes like the daisy design above.
Nail polish remover and a small angled brush are worth keeping nearby too, dip the brush in remover and use it to clean up any polish that gets on your skin, rather than trying to get it perfect the first time.
Beginners often give up on a design because of small mess-ups around the edges, but almost everything can be fixed with cleanup rather than starting over.
Lastly, always finish with a top coat, even on the simplest one-color manicure. It’s the easiest way to make your nails look shinier and last longer, and it also seals in any nail art so it doesn’t smudge as easily.
Final Thoughts
Start with a solid color or a simple design like dots or a diagonal line before moving on to anything that needs a steady freehand stroke.
Once you’ve got a feel for how your brush and polish behave, techniques like French tips or daisies get a lot easier. Keep a dotting tool and cleanup brush nearby, and don’t stress over small mistakes, most of them wipe right off.