
Your curling iron is buried somewhere in a drawer, but your flat iron sits right on the counter. Sound familiar? Good news: you can curl your hair with a straightener, and you don’t need a new gadget to do it.
I’ll be upfront about my take here. I think the flat iron is the most underrated curling tool around, and I’ll tell you why.
It gives you softer, bendier waves than most barrels do, and it works on short hair, long hair, and everything in between. Ready to get started?
Why Curl Your Hair with a Flat Iron?
Ever wondered why stylists reach for a straightener when they want that lived-in wave? The answer is simple. A flat iron gives you beachy, flowing curls instead of tight, bouncy ringlets.
Here’s what I like about it:
- You only need one tool. Straighten and curl with the same iron.
- The waves look natural. They don’t scream “I used a curling wand.”
- It’s travel friendly. One device saves space in your bag.
- It works on short hair. Barrels can feel clumsy on a bob, but a flat iron handles it well.
IMO, the flat iron wins whenever you want a relaxed, second-day-hair look. A curling wand wins when you want a perfectly uniform spiral. Pick your fighter.
What You Need Before You Start
You don’t need much, but a few items make a big difference. Skip the heat protectant and you’ll learn the hard way that fried ends don’t hold curls anyway.
- A flat iron with rounded edges. Sharp, boxy edges leave dents and creases.
- A heat protectant spray. This one is not optional.
- Hair clips. You need these to section your hair.
- A fine-tooth comb. It keeps each section smooth.
- Hairspray or texturizing spray. Use it to lock everything in.
Pick the Right Flat Iron Width
Slim irons (1 inch or less) give you tighter curls and work best on short or fine hair. Wider irons (1.5 inches and up) make loose waves, but they struggle on shorter styles. If you only own one, a 1-inch iron handles almost everything.
Prep Your Hair the Right Way
Start with completely dry hair. Curling damp hair with a flat iron sounds like a shortcut, but it fries your strands and kills your curls. Skip it.
Next, spritz on your heat protectant and comb it through. Then split your hair into sections. I like four to six sections, depending on thickness. Clip the top layers away so you can work from the bottom up.
What heat setting should you use? Here’s a quick guide:
- Fine or damaged hair: 300 to 320°F
- Medium hair: 330 to 360°F
- Thick or coarse hair: 370 to 390°F
Go lower than you think you need. FYI, you can always bump the heat up, but you can’t undo damage.
How to Curl Your Hair with a Straightener Step by Step
This is the part you came for. Take it slow the first time, and I promise it gets easier.
Step 1: Grab a Small Section
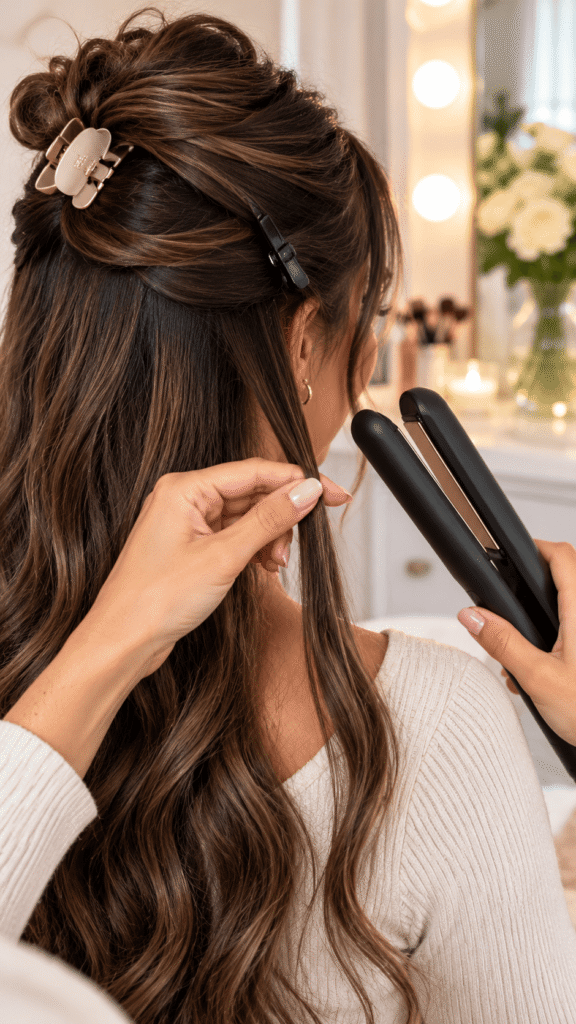
Take a one-inch section of hair. Thinner sections give you more defined curls, and thicker sections give you looser waves. Keep it consistent, so your curls match.
Step 2: Clamp Near the Roots
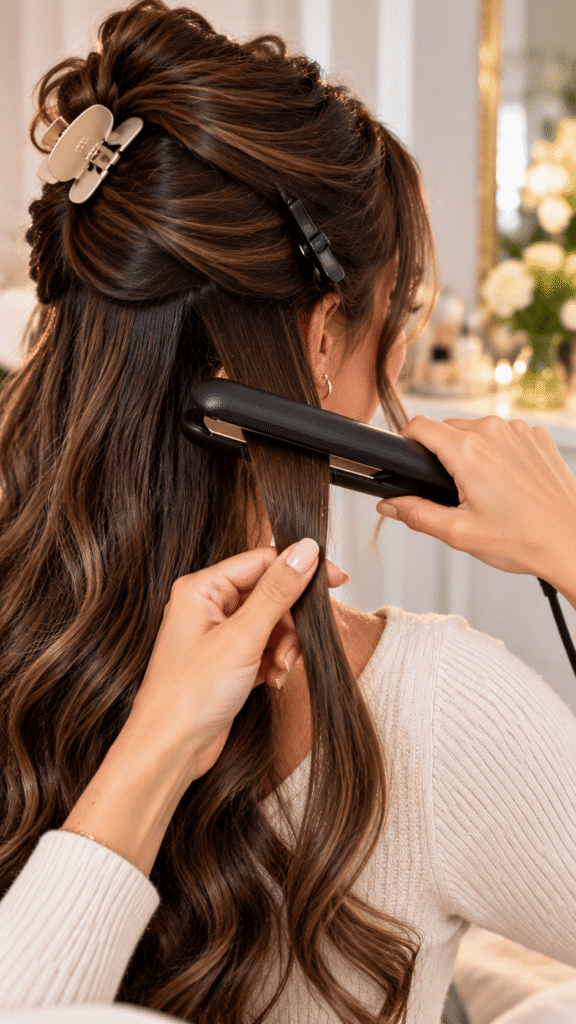
Place the flat iron on the section, about an inch or two from your scalp. Clamp down gently. You want a firm hold without squeezing the life out of your hair.
Step 3: Flip the Iron
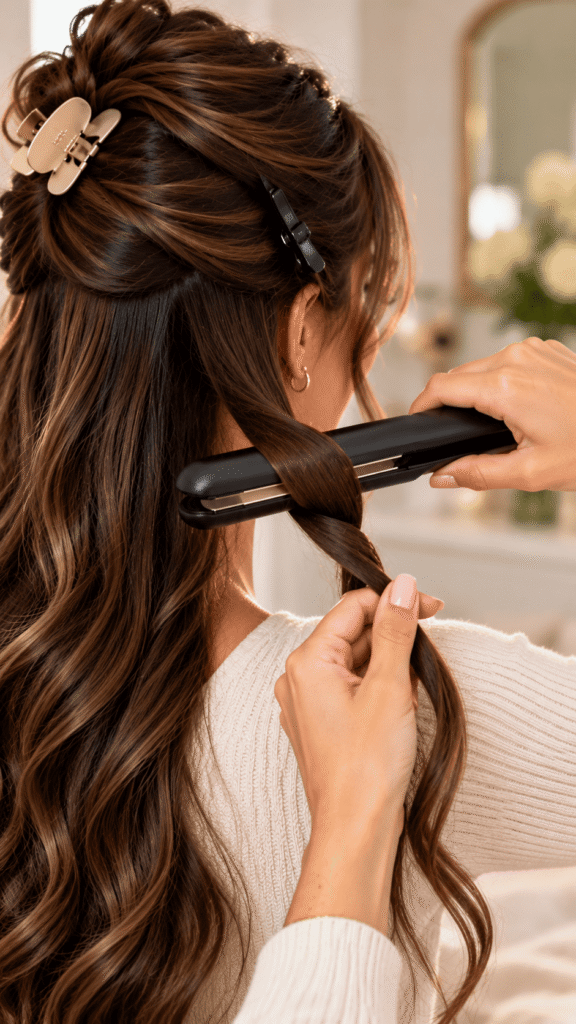
Here’s the trick. Turn the iron away from your face so the plates point downward and your hair wraps around the outside. Your wrist should rotate about 180 degrees. If you turn it too far, your hair will crimp, and nobody wants that. :/
Step 4: Glide Slowly Down the Hair
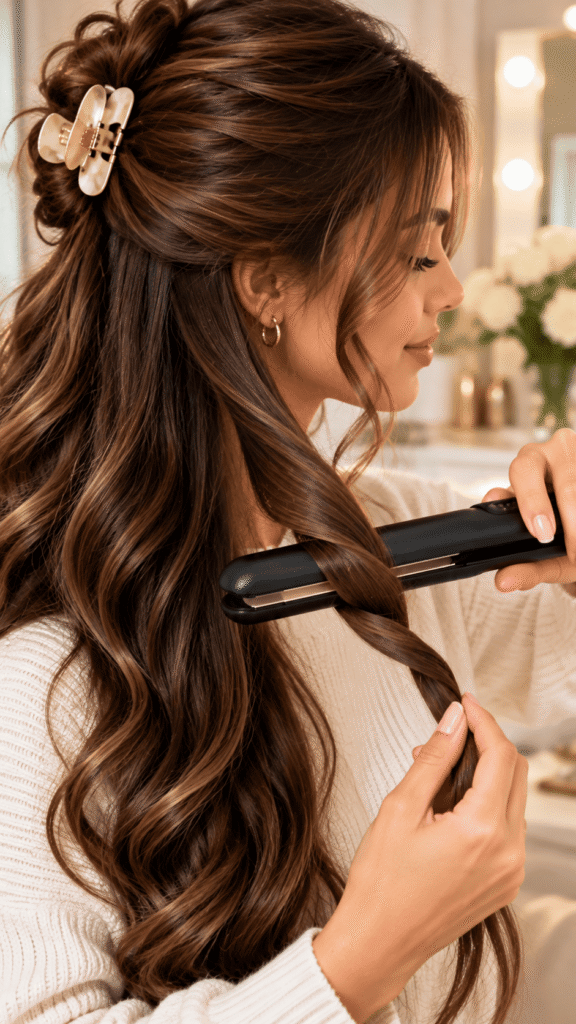
Slide the iron down the section at a steady, medium pace. Don’t stop in one place. Moving too fast gives you a barely-there bend, and moving too slow gives you scorched strands.
Step 5: Let the Curl Cool
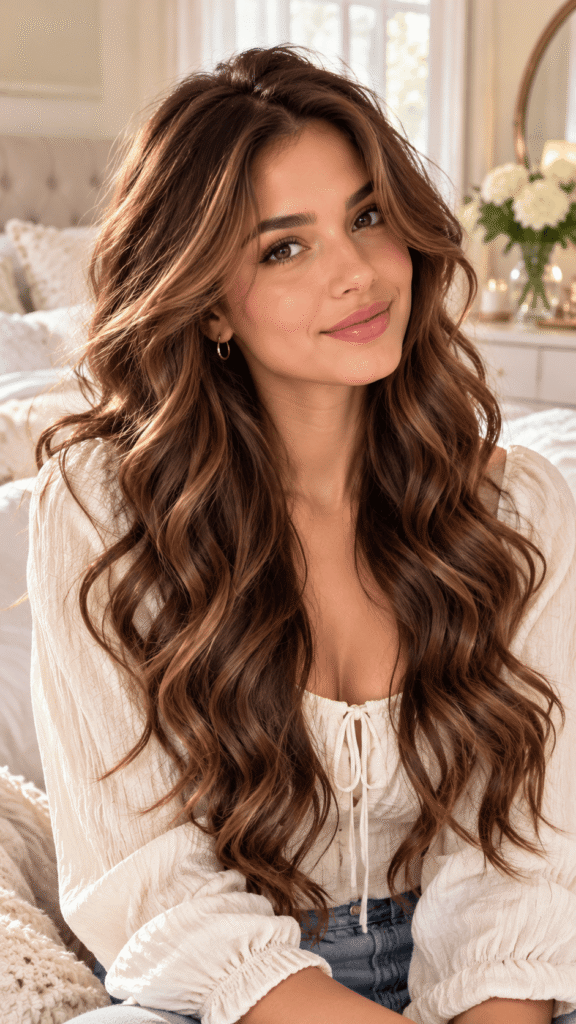
Let the curl fall naturally and cool for a few seconds. Cooling sets the shape. Touching it right away pulls out the wave, which feels like a personal attack after all that effort.
Step 6: Repeat Around Your Head
Work through each section, alternating the direction of the curls. Curl one section away from your face, then the next toward it. This gives you a more natural, varied look. Finish with the top layers.
Common Mistakes to Avoid
I’ve made nearly all of these, so learn from my questionable choices.
- Using too much heat. Hotter doesn’t mean better. It just means crispier.
- Skipping heat protectant. Your hair will thank you for the spray.
- Grabbing sections that are too big. The plates can’t heat the whole piece evenly.
- Rushing the process. A slow, steady glide beats a speedy yank every time.
- Brushing curls while they’re hot. Wait until they cool, or they’ll fall flat.
How to Make Your Curls Last
Nothing hurts more than a gorgeous set of curls that vanish by lunch. You can help yours last with a few easy habits.
- Spray each section lightly before you curl it, not just at the end.
- Let the curls cool fully before you touch them.
- Finish with a flexible-hold hairspray. Stiff sprays make waves look crunchy.
- Sleep on a silk pillowcase or tie your hair in a loose pineapple on top of your head.
Fine hair needs a bit more help than thick hair. If that’s you, a volumizing mousse before styling gives your curls something to hold onto.
Quick Troubleshooting
Does your hair refuse to cooperate? Try these fixes:
- Curls fall out fast: Use smaller sections and a slightly higher heat setting.
- Hair looks kinked or creased: Rotate your wrist more smoothly and avoid squeezing hard.
- Curls look frizzy: Add a drop of lightweight hair oil to your palms and smooth over the ends.
- Curls look uneven: Keep your sections the same size and use the same speed each time.
Final Thoughts
So, can you curl your hair with a straightener? Absolutely. Prep with heat protectant, grab small sections, twist the iron away from your face, and glide slowly. That’s the whole secret.
Give it a shot this weekend, and don’t stress if your first try looks a little wonky. Mine did too.
Once you get the wrist flip down, you’ll wonder why you ever bought a curling wand. Now go grab that flat iron and make your hair do something fun.