
You’ve got five minutes, a hair tie, and a mirror that’s not on your side. Sound familiar? Good news, a messy bun is the easiest hairstyle you can learn, and it works on almost every hair type.
Here’s my honest take. A messy bun looks simple, but the “messy” part needs a little planning. Done right, it looks relaxed and put together. Done wrong, it looks like a bird moved in. Let’s fix that.
Why the Messy Bun Never Goes Out of Style

Ever wondered why you see this hairstyle everywhere, from the gym to weddings? It takes almost no skill, it hides greasy roots, and it keeps hair off your neck. That’s a lot of wins for one elastic.
Here’s why I think it deserves a spot in your regular rotation:
- It’s fast. Most people finish in under three minutes.
- It works on day-two hair. Texture actually helps it hold.
- It suits any outfit. Pair it with a hoodie or a dress.
- It needs almost no tools. One hair tie does most of the work.
IMO, a messy bun beats a sleek one for everyday wear. It forgives mistakes, and nobody expects perfection from it.
What You Need Before You Start
You don’t need a bag full of products. A few basics make the bun stay put and look better.
- A strong hair elastic. Skip the flimsy ones that snap halfway through the day.
- Bobby pins. Grab four to six in a color that matches your hair.
- Texturizing spray or dry shampoo. This adds grip to slippery hair.
- A claw clip or scrunchie (optional). Use it for a softer finish.
- A fine-tooth comb. It helps you smooth the top without flattening everything.
FYI, freshly washed hair is the hardest to work with. It’s too silky and slides right out. If your hair is squeaky clean, add a little dry shampoo first.
How to Do a Messy Bun: Step by Step
This is the part you came for. Follow these steps in order, and you’ll get a solid bun on your first or second try.
Step 1: Prep Your Hair
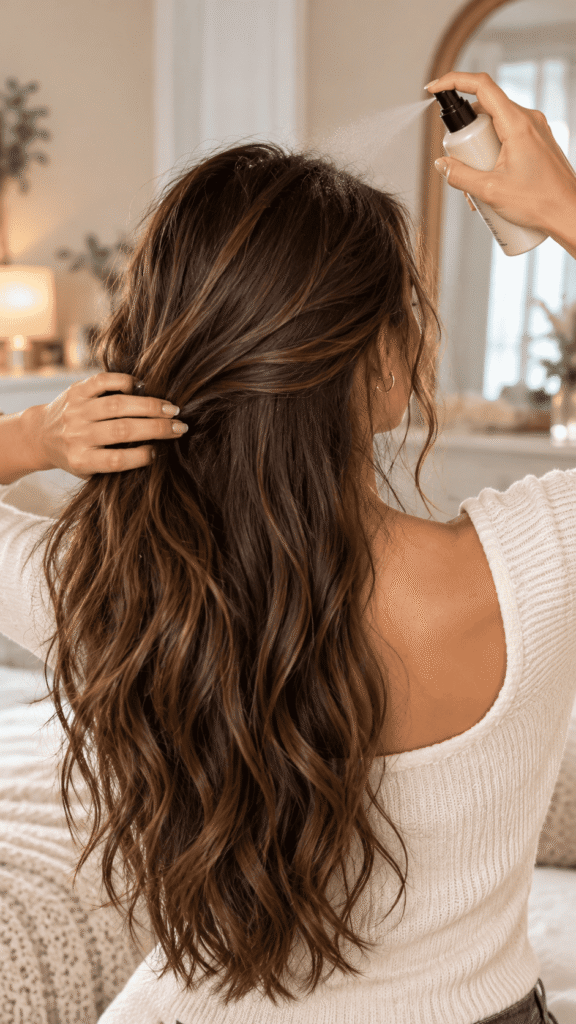
Brush your hair to remove tangles. Then spray texturizing spray or dry shampoo through the roots and mid-lengths. This gives your hair a little grit, so it stays where you put it.
Step 2: Decide on Bun Height
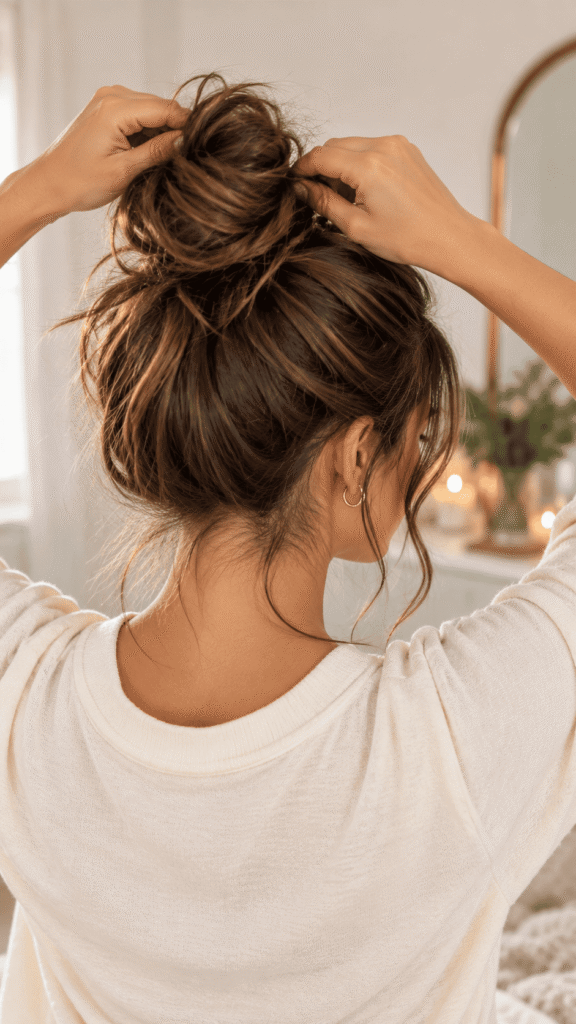
Where do you want the bun to sit? Here’s a quick guide:
- High bun: Pull your hair up to the crown of your head. It looks playful and lifts your face.
- Mid bun: Tie it at the back of your head. It feels balanced and casual.
- Low bun: Gather it near the nape. It looks softer and a bit more polished.
I lean toward a high bun for casual days and a low one for dinners. Pick what suits your face shape and your outfit.
Step 3: Make a Ponytail
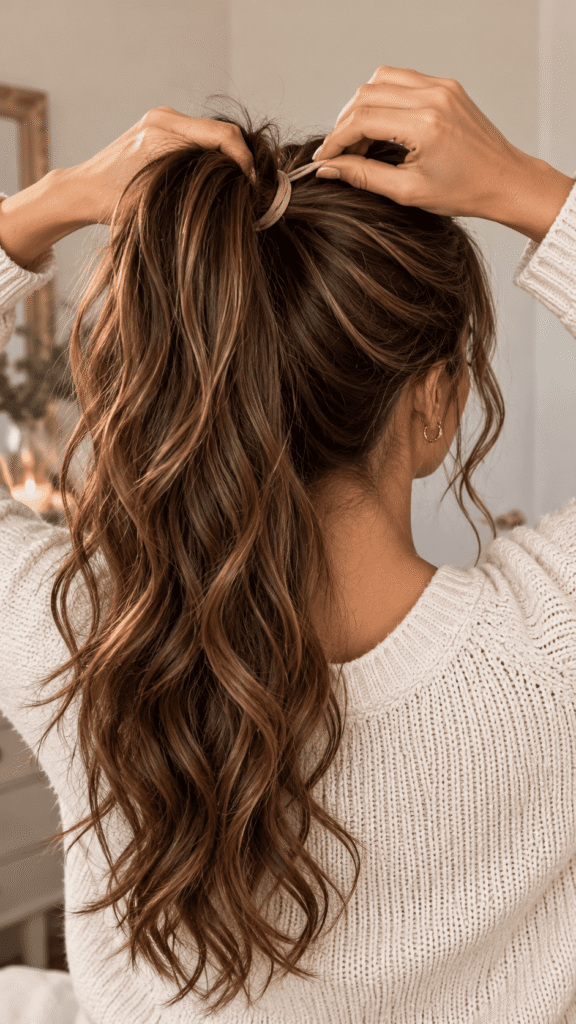
Gather your hair into a ponytail at your chosen height. Don’t stress about making it smooth. A little bumpiness is the whole point. Tie it with your elastic, but stop before you pull the full ponytail through on the last loop.
Step 4: Create the Bun Loop
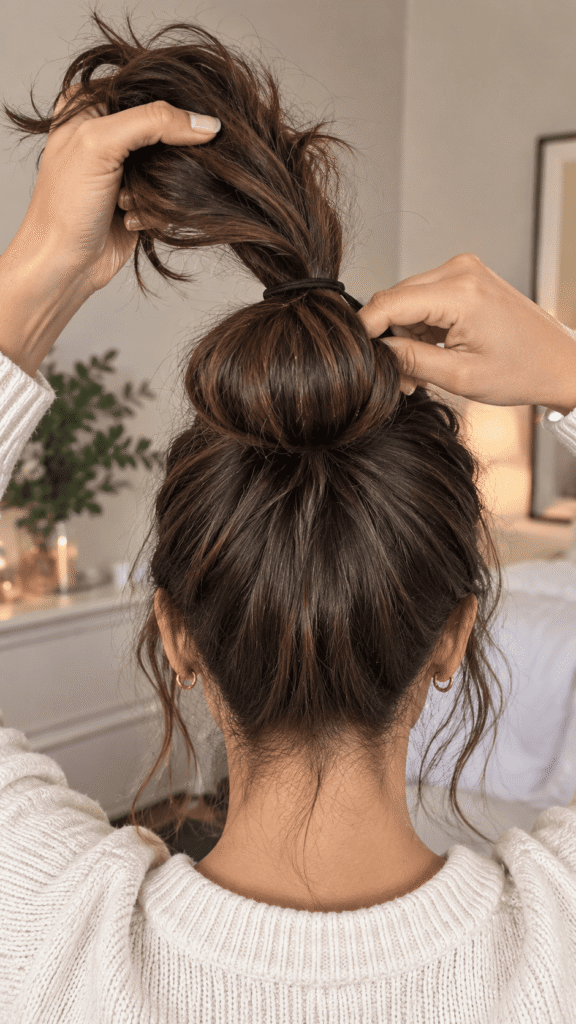
On the final twist of the elastic, pull your hair only halfway through. You should see a loop with the ends sticking out on top. This is the classic shortcut that makes the bun look full.
Step 5: Split and Spread
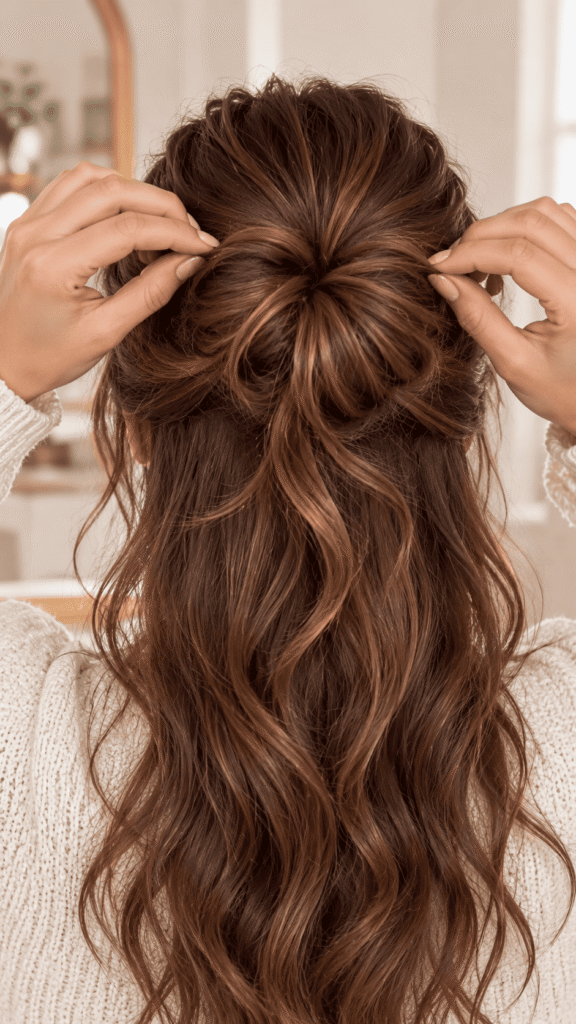
Divide the loop into two sections. Gently pull each side outward to widen the bun. Then tug at the edges to loosen them. This step turns a tight knot into something that looks relaxed.
Step 6: Wrap the Ends
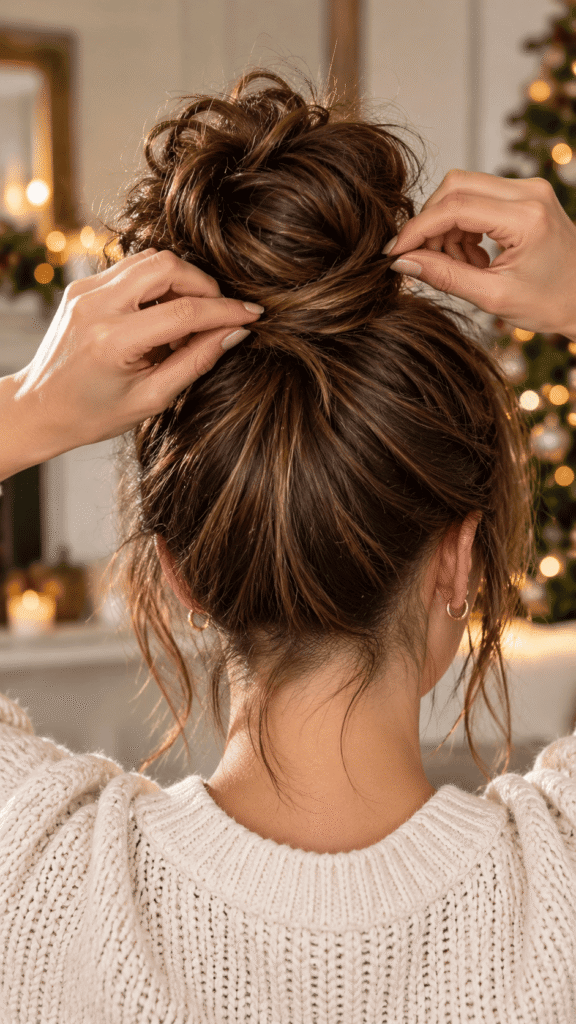
Take the loose ends and wrap them around the base of the bun. Tuck the tips under the elastic or secure them with bobby pins. Don’t wrap too tightly, or you’ll lose the soft shape.
Step 7: Pin It Down
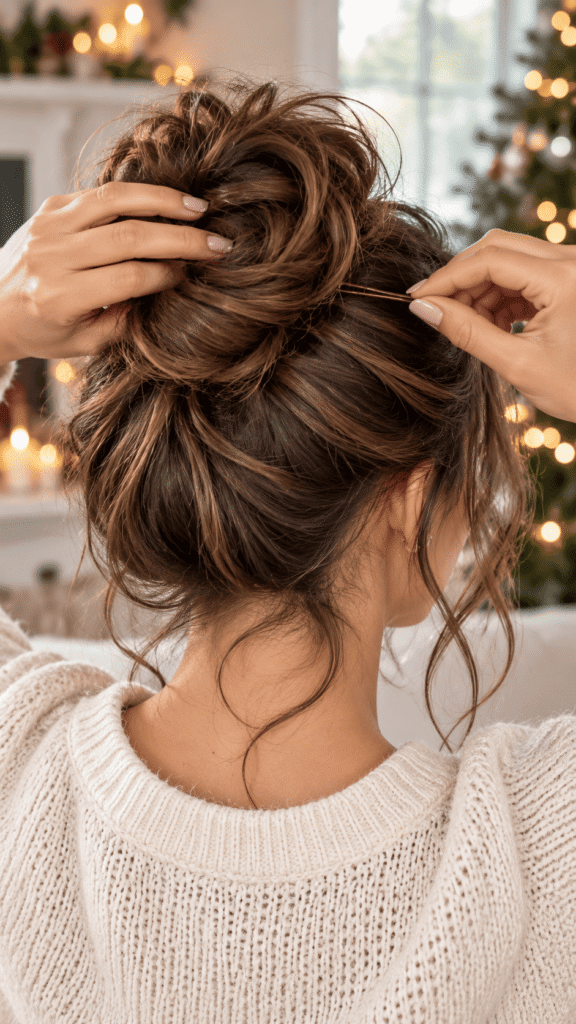
Slide bobby pins in from different angles. Push each pin through the bun and into the hair underneath. Three or four pins give you plenty of hold without weighing it down.
Step 8: Add the “Messy” Touch
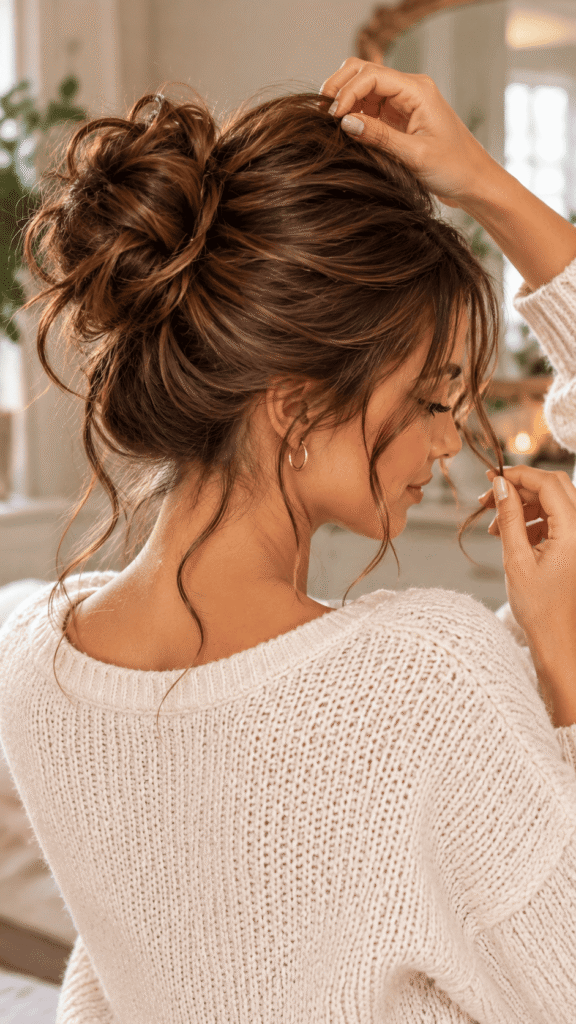
Pull out a few thin strands around your face and nape. Fluff the bun with your fingertips. A tiny bit of hairspray helps everything stay put. Congratulations, you made chaos look intentional.
Common Messy Bun Mistakes
I’ve made all of these, so you don’t have to.
- Pulling the hair too tight. A tight bun looks stiff, and it can hurt your scalp.
- Skipping texture products. Silky hair slips out and leaves you with a sad ponytail.
- Using too few pins. A bun that droops by noon isn’t the vibe.
- Fluffing too much. There’s a line between messy and a hair emergency.
- Using the wrong elastic. Thin elastics can snap or cut into your hair.
Quick Fixes if Your Bun Goes Wrong
Does your bun look lopsided or flat? Try these quick fixes:
- Bun looks too small: Pull the loops wider and add a hair donut.
- Bun is leaning: Add a pin on the heavy side.
- Bun feels too tight: Loosen it at the base and pull the sides outward.
- Hair keeps escaping: Spray a little texturizer over the loose pieces before you pin them.
Final Thoughts
So, that’s how to do a messy bun. Start with textured hair, make a ponytail, pull the loop halfway through, spread it out, wrap the ends, and pin it in place. Add a few loose strands, and you’re done.
Practice it once or twice, and you’ll do it in your sleep. Skip the perfection, because that’s not what this style is about.
Now go grab an elastic and make your hair look gloriously, intentionally undone.