

You paid for a cute set, spent an hour getting the sizes right and by day three one nail is already lifting at the cuticle like it wants out. It’s Annoying. I know.
Press-ons almost never fail because the nails are bad. They fail because of what happened in the five minutes before the glue came out and what you did to them in the first hour after.
Get those two things right and a set can stay on for one to two weeks, sometimes closer to three. Get them wrong and you’re gluing the same thumb back on the same day.
This is everything I’d tell a friend who asked me how to make hers last – prep, sizing, glue vs tabs, the application itself, daily habits and how to take them off without wrecking your natural nails.
So, let’s nail it.
Why Your Press-Ons Keep Popping Off (It’s Not The Nails)
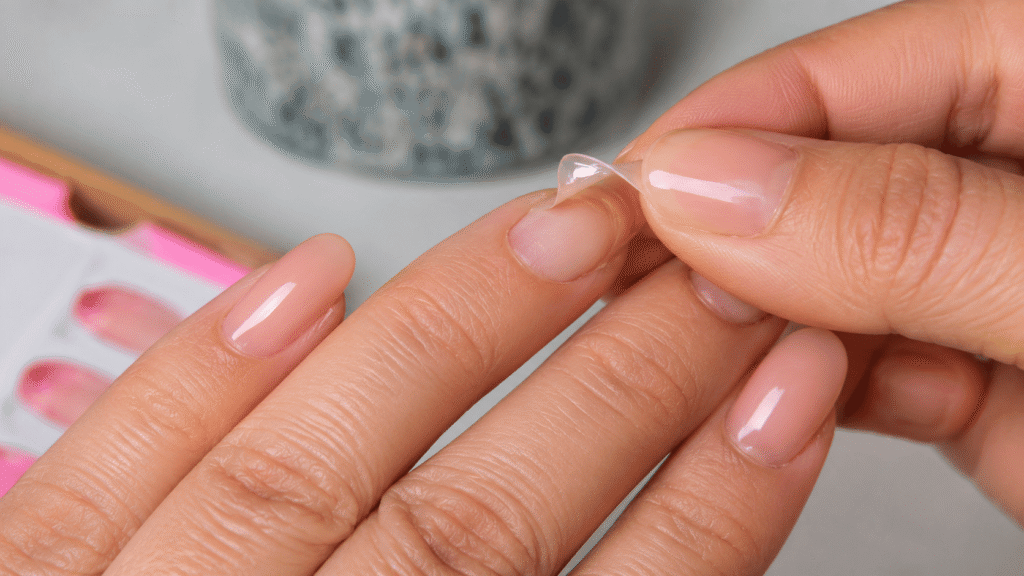
Your natural nail makes oil. It also holds a little moisture and it flexes every time you press on something. A press-on tip doesn’t flex at all. So the glue has to hold two surfaces that move differently, on a surface that’s naturally a bit slick. That’s the whole problem.
When a set fails, it’s one of these –
- The nail still had oil, lotion or old polish on it when the glue went on.
- The nail was shiny, so the glue had nothing to grip.
- The size was off, so the tip sat on skin or left a gap at the sides.
- The glue layer was too thick, too thin or nobody held the nail down long enough.
- Water hit the nails before the glue fully set or hot water hit them all week.
Lifting starts at the edges, at the cuticle end and the sidewalls. Then water and soap sneak in and the next time a sweater sleeve catches a corner, off it goes. Fix the edges and everything else gets easier.
Prep Your Natural Nails Like You Mean It
This is the step everybody skips and it decides most of the outcome. It takes about five minutes.
- Wash and dry your hands. Use plain soap and dry them fully. Skip hand cream for the rest of the day, because it leaves a film that glue hates.
- Push your cuticles back. Use a cuticle pusher or an orangewood stick, gently. Press-ons should sit on nail, not on cuticle skin.
- Remove old polish completely. Any polish or gel left on the nail is a weak layer sitting between your nail and the glue.
- File and shape. Shorten your natural nails so they sit comfortably under the tip, and file the free edge flat so there’s nothing to snag.
- Buff the shine off. One light pass with a fine buffer block (180 to 240 grit) is enough. You’re dulling the surface, not sanding your nail down. If your nail feels thin afterward, you went super hard.
- Wipe with alcohol. Use a lint-free wipe with 70% or higher isopropyl alcohol, or the dehydrator that came with your set. Let it dry for a few seconds, then stop touching your nails. Yes, that includes the quick nose scratch.
Pick the Right Size
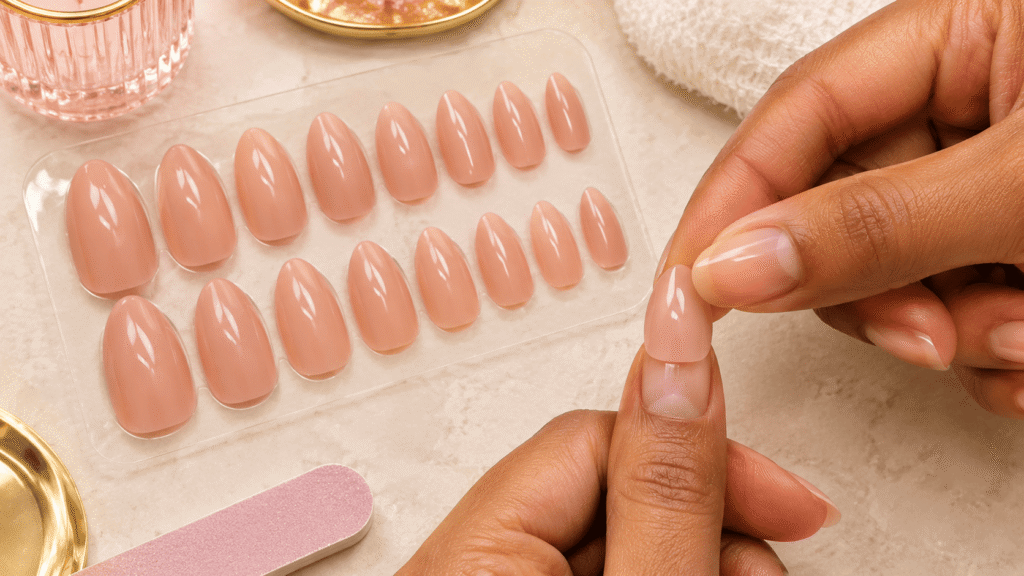
Every press-on set comes in a range of sizes for a reason, and most of us grab whatever looks close enough. Don’t.
Lay the tips out in order on a paper towel and test each one against the matching nail before any glue comes out. Each tip should cover your nail from sidewall to sidewall without sitting on the skin around it. If a tip curves over your skin, it will pop off, because glue can’t hold on skin that moves.
Between two sizes? Go with the smaller one, or file the sides of the bigger one until it sits right. One that’s too wide doesn’t.
Match the curve too. If your nails are very flat or very curved, a tip with the opposite curve will lift at the sides.
And watch the length. A long tip is a lever – every time it catches on something, the force goes straight to the cuticle edge. If you keep losing the same nail, especially a pinky or ring finger, try a shorter length. A short set that stays on beats a long set that doesn’t.
Nail Glue vs Adhesive Tabs
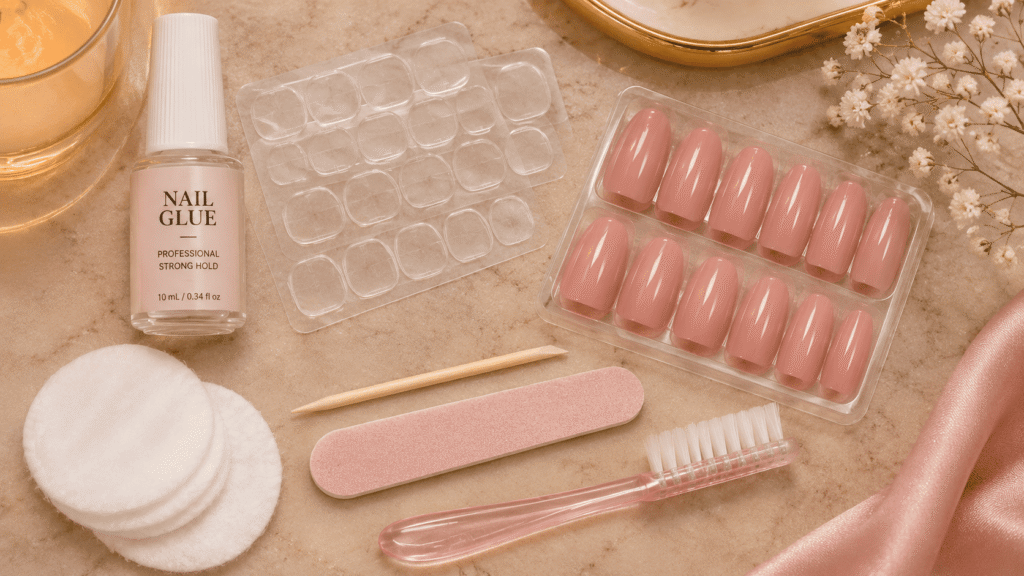
Both work. They’re built for different jobs.
| Nail glue | Adhesive tabs | |
|---|---|---|
| Wear time (rough guide) | 1 to 2 weeks, sometimes up to about 3 | A few days, up to about a week |
| Best for | Everyday wear, trips, sets you don’t want to think about | One night out, trying a new style, sensitive nails |
| Hold | Strong and firm | Gentler, easier to peel off |
| Downside | Harder to remove, can damage nails if you pull it off | Gives up sooner, especially around water |
| Reusing the tips | Sometimes, if removed gently | Usually yes |
If you go with glue, use one made for nails. Regular super glue isn’t made for skin or nails and is harsher to deal with when it’s time to remove it.
Brush-on glue is easier to control than a tiny nozzle bottle and gel glue is thicker and runs less, which helps if you’re new to this. None of them are magic. A thin layer, held down properly, beats a fancy formula every time.
How to Apply Press-Ons Step by Step
Nails prepped and sizes sorted? Good. Now the part that actually holds them on.
- Put a thin coat of glue on your natural nail. Spread it across the nail, close to the cuticle but not touching the skin. Thin means thin. A big blob doesn’t bond better, it just slides around and squeezes out the sides.
- Add a thin coat to the back of the press-on too. One thin layer on each surface makes a stronger bond than a thick layer on one.
- Start at the cuticle end. Line the tip up just short of your cuticle, tilt it to about 45 degrees, then press it down and roll it toward the free edge. This pushes air out instead of trapping bubbles under the nail.
- Press and hold for a full 30 seconds. Not 5. Count it out. Press from the center first, then squeeze the sides gently so the edges seat down.
- Wipe away squeezed-out glue. A cotton swab with a little acetone works while the glue is still wet. Dry glue on skin tugs at the edge of the nail later.
- Do one nail at a time. Glue sets fast, so don’t coat all ten nails first. Finish one, then move to the next.
If you do glue your fingers together, don’t yank. Soak them in warm soapy water and ease them apart.
The First Hour and Everyday Habits
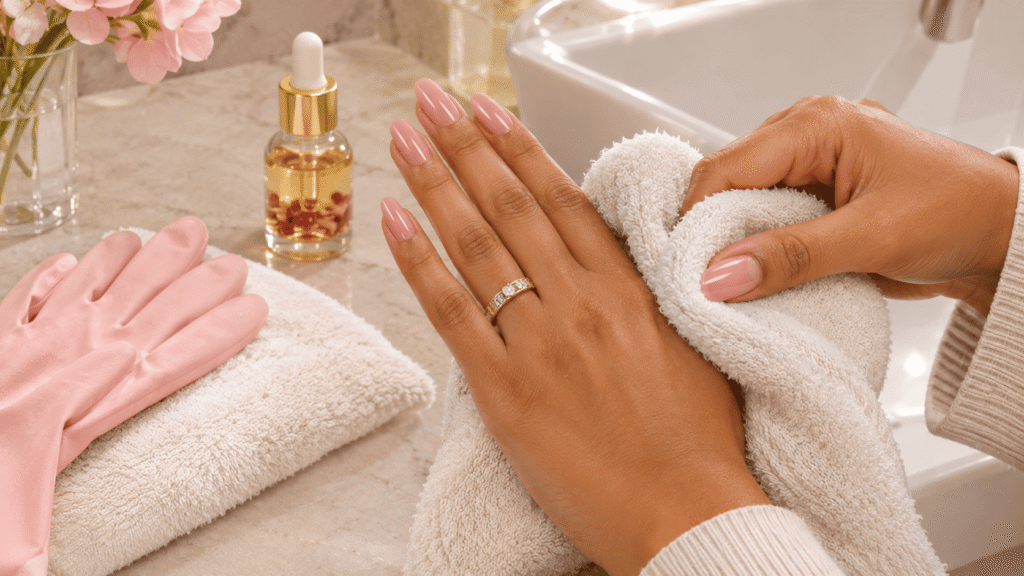
Glue keeps hardening after it feels dry. Give it at least an hour before water touches your nails, and a few hours is better. If you can, do your set before bed or on an evening when you’re not about to do dishes.
After that you don’t have to baby them. You just have to stop a few things:
- Keep hot water short. Warm showers are fine. Long soaks, hot tubs and steamy dish sessions soften the glue.
- Dry your hands properly. Water trapped under the edges is how lifting starts.
- Wear gloves for dishes and cleaning. Bleach and strong cleaners break down adhesive too.
- Use the pads of your fingers. Press buttons, open packages and pick up small things with the pad, not the tip.
- Go easy with cuticle oil. Wait a day, then use a tiny bit on the skin around the nail and keep it off the edges. Oil and glue do not get along.
And your nails are not tools. Not a screwdriver, not a can opener, not a way to scratch that one spot on your back. Okay, you know that. I’m saying it anyway.
Mistakes That Kill a Set Early
- Picking at a lifted edge. It makes the lift bigger and can pull layers off your natural nail along with it.
- Letting acetone or remover touch the edges. Acetone dissolves glue. Keep it away from your set unless you’re taking it off.
- Gluing over old glue. Clean the residue off first, or the new layer sits on a bumpy base.
- Reusing a tip that doesn’t fit anymore. A bent or warped tip won’t sit flat, so it won’t stay.
- Wearing the set until the gap gets big. As your nails grow, the gap at your cuticle widens and the tips get more leverage. Around the two to three week mark, it’s time to change them.
Taking Them Off Without Wrecking Your Nails
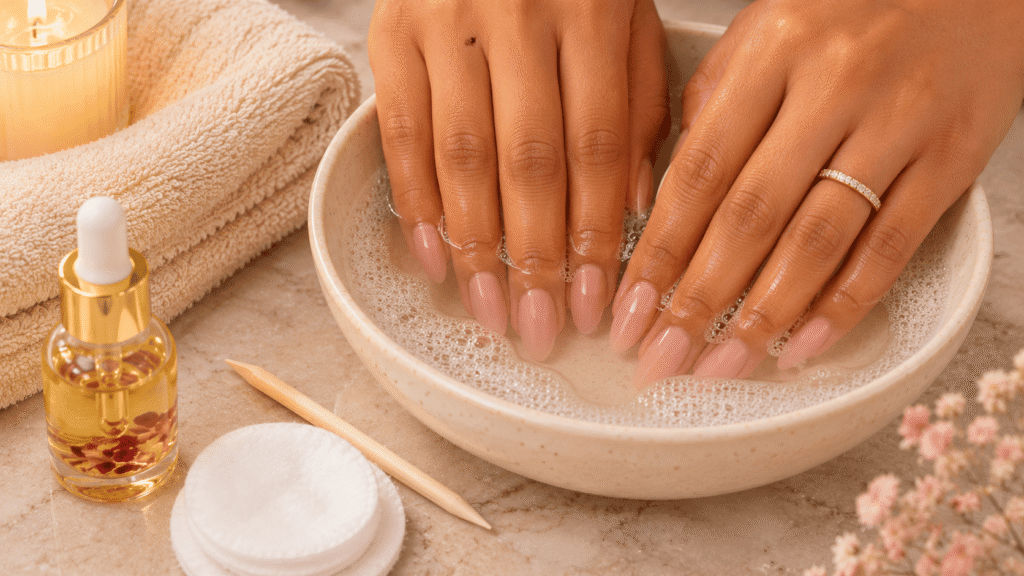
Don’t peel them off. Pulling a glued-on press-on can take layers of your natural nail with it, and then you’re stuck with thin, sore nails and a bad attitude.
- Soak in warm soapy water for 10 to 15 minutes. Add a few drops of cuticle oil if you have it.
- Nudge, don’t force. Slide an orangewood stick under the cuticle edge and see if it moves. If it doesn’t, soak longer.
- Use acetone only for stubborn glue. Soak a cotton pad in an acetone-based remover, place it on the nail, wrap each fingertip in foil for about 10 minutes, then ease the nail off. Acetone dries out skin and nails, so skip this step if the soak works.
- Buff off leftover glue gently. Use a soft buffer. Don’t scrape.
- Moisturize. Your nails will feel dry and a little rough, so give them cuticle oil and hand cream.
If you used tabs, a warm soapy soak usually does the job. Clean the old adhesive off the tips and store them flat, because you can often wear them again. If your natural nails feel thin or sore afterward, give them a few days off before the next set.
How to Make Press On Nails Last Longer (Short Version)
- Prep: wash, push back your cuticles, buff lightly, wipe with alcohol.
- Fit each tip sidewall to sidewall, with no skin overlap.
- Thin glue on both surfaces.
- Press from the cuticle, roll toward the tip, hold for 30 seconds.
- Keep water away for the first hour.
- Fix lifts the same day.
- Remove with a soak, never a pull.
Do all that and your next set should still be on when you’re ready to take it off. Now go fix that thumb.